
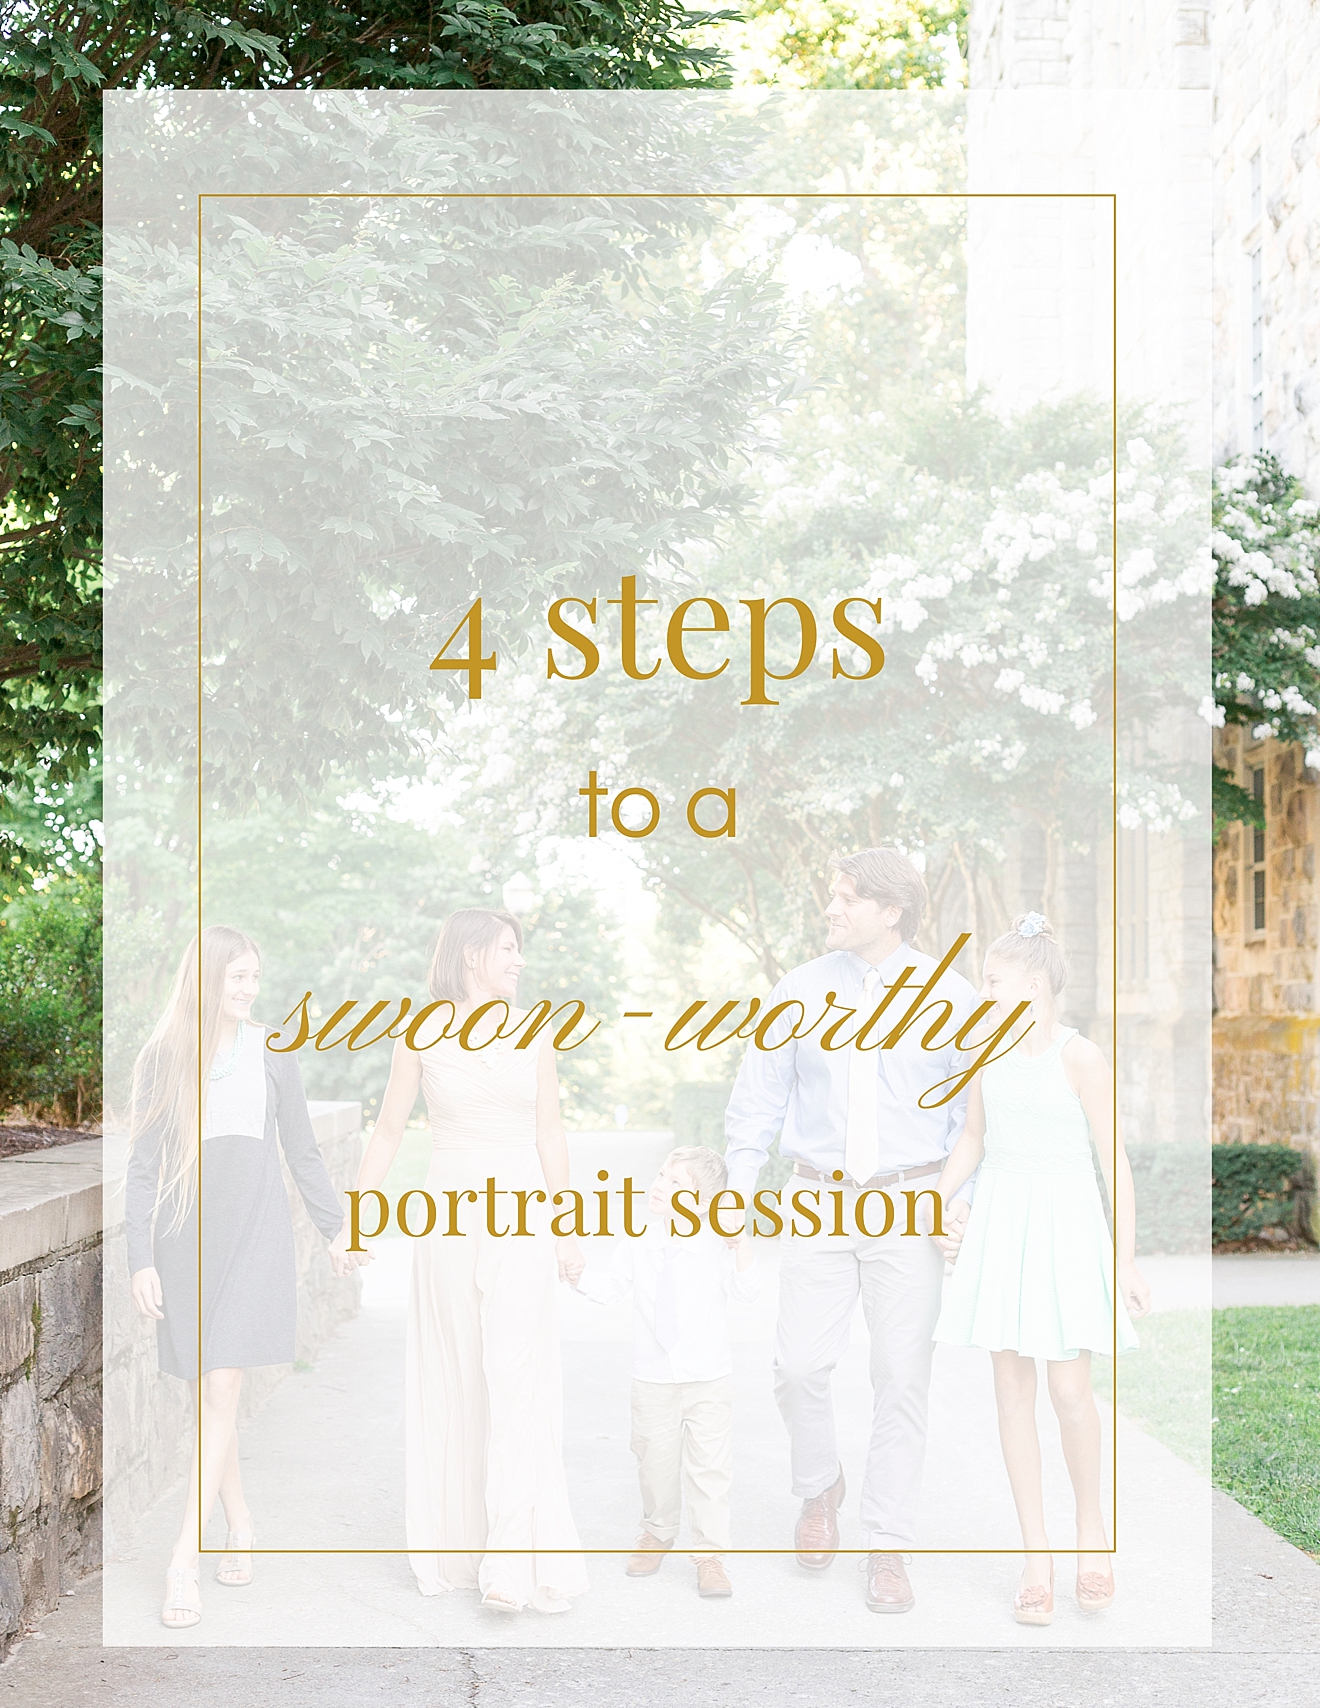
Hi friends!
Today’s post is one that I’m super excited about, because I’m sharing my best tips to follow if you want to get the most out of your portrait session investment! If you’re anything like me, once you sign a contract with that photographer whose work you just adore, all of the sudden the pressure is on! You want to plan your outfits + session details perfectly so that the images from your session are the best reflection of you, your family, and your story. And I’m excited to be able to give y’all some tips that will help you do just that (and hopefully relieve some stress in the process!).
So, here are the 4 steps you’ll want to follow to get the most out of your portrait session, and end the experience with images that you’ll swoon over!
1. Take the time to plan ahead and coordinate your outfits.
I promise, you’ll stress less about what to wear if you start planning early! In fact, once you begin putting outfits together that you really love, rather than worrying about what to wear as the session approaches, instead you’ll be looking forward to the session date even more because you’ll be excited to wear what you’ve picked out!!
I send all of my portrait clients a full Style Guide as soon as their date is reserved, which includes 8+ pages of my best tips for flattering styles and fits, and coordinating color schemes – it’s honestly so much information that there’s no way it would fit in today’s post. BUT I do want to include two key practices that are SO important when coordinating your outfits for your session:
Try everything on to be sure it fits properly and you are comfortable in it, before you decide to wear it for your session!
and
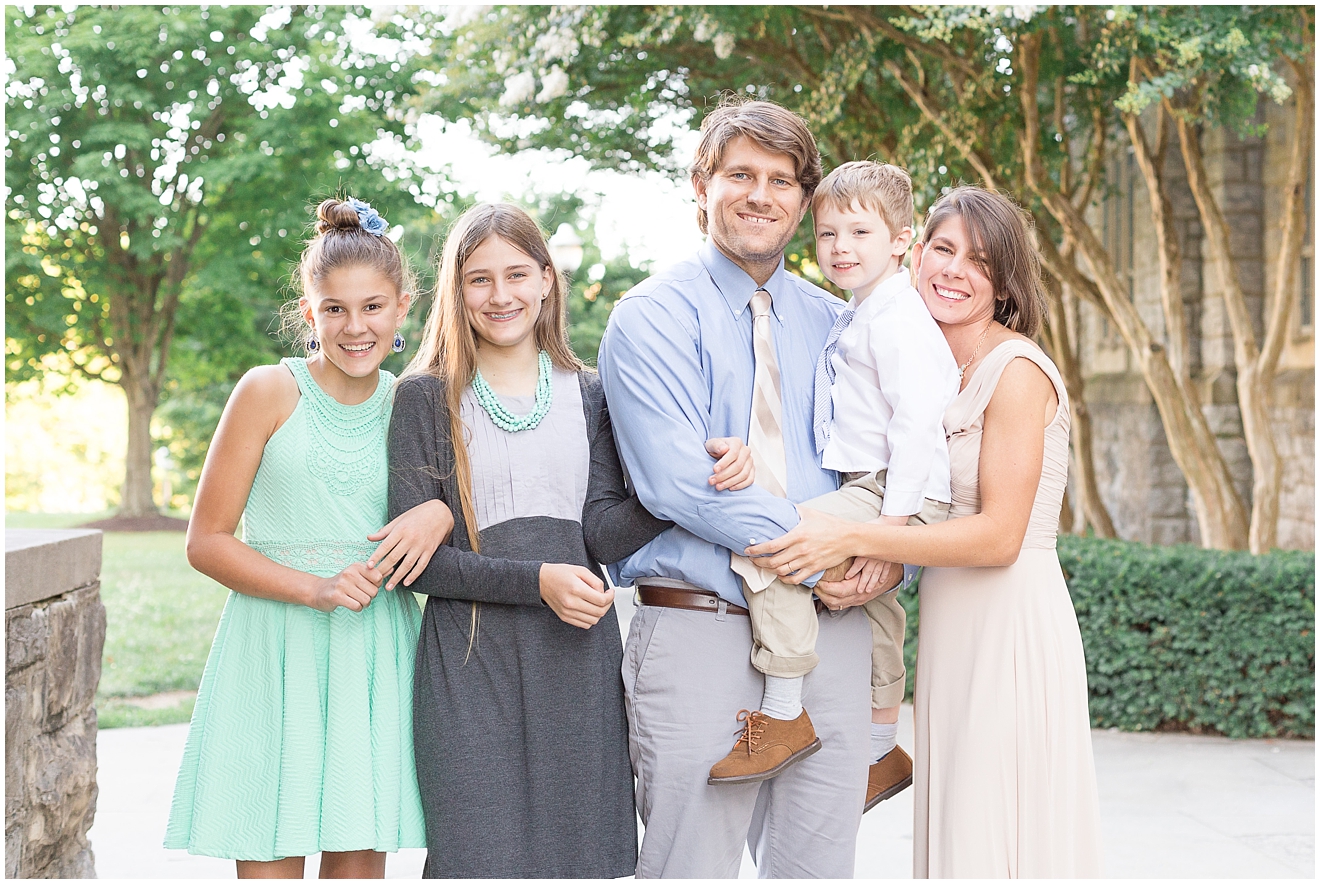
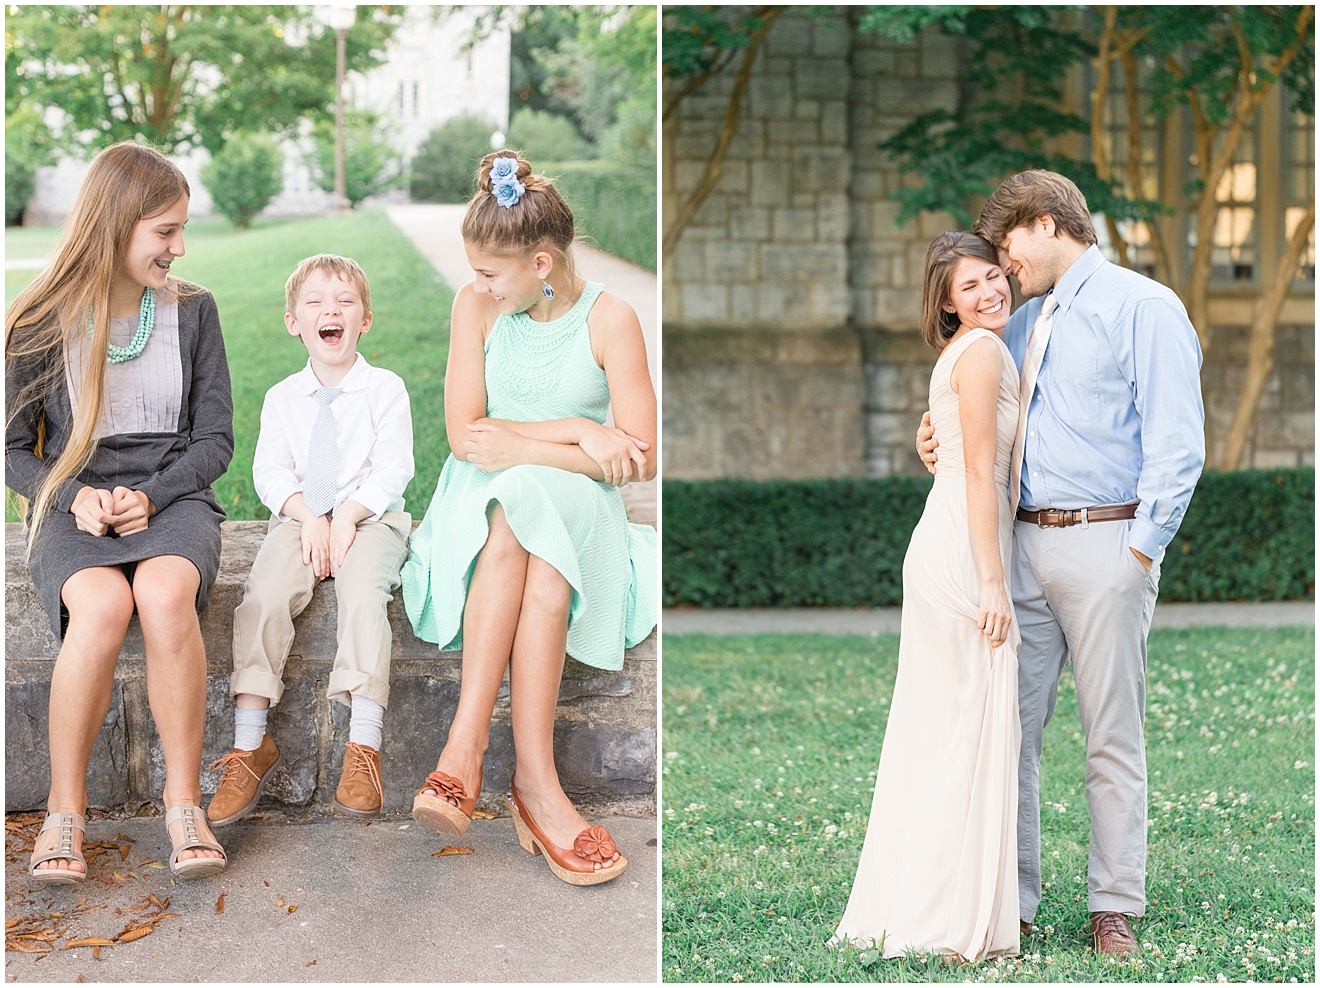
Stick to 2 or 3 dominant colors (for example: blues + greens, perhaps with hints of blush here and there) woven throughout everyone’s outfits, grounded by 1 or 2 neutrals (gray or cream are my favorites!) to bring proper visual balance, for an editorial, cohesive style that will have you looking like you stepped right out of a catalog. 😉 Like the Pigott family…
I have found that it’s often easier to start with one outfit and build the other outfits from there. When Jason and I have an upcoming session, I’ll usually start by planning my outfit(s) first – because I typically have one or two pieces that I already know I want to wear – and then I’ll give him options to choose from for his outfits that will coordinate with what I’m wearing. The ideal result is two outfits that compliment each other and that we are both confident in!
(side note: I wrote a blog post about how I coordinated our outfits for our anniversary session two years ago, and you can check that out here!)
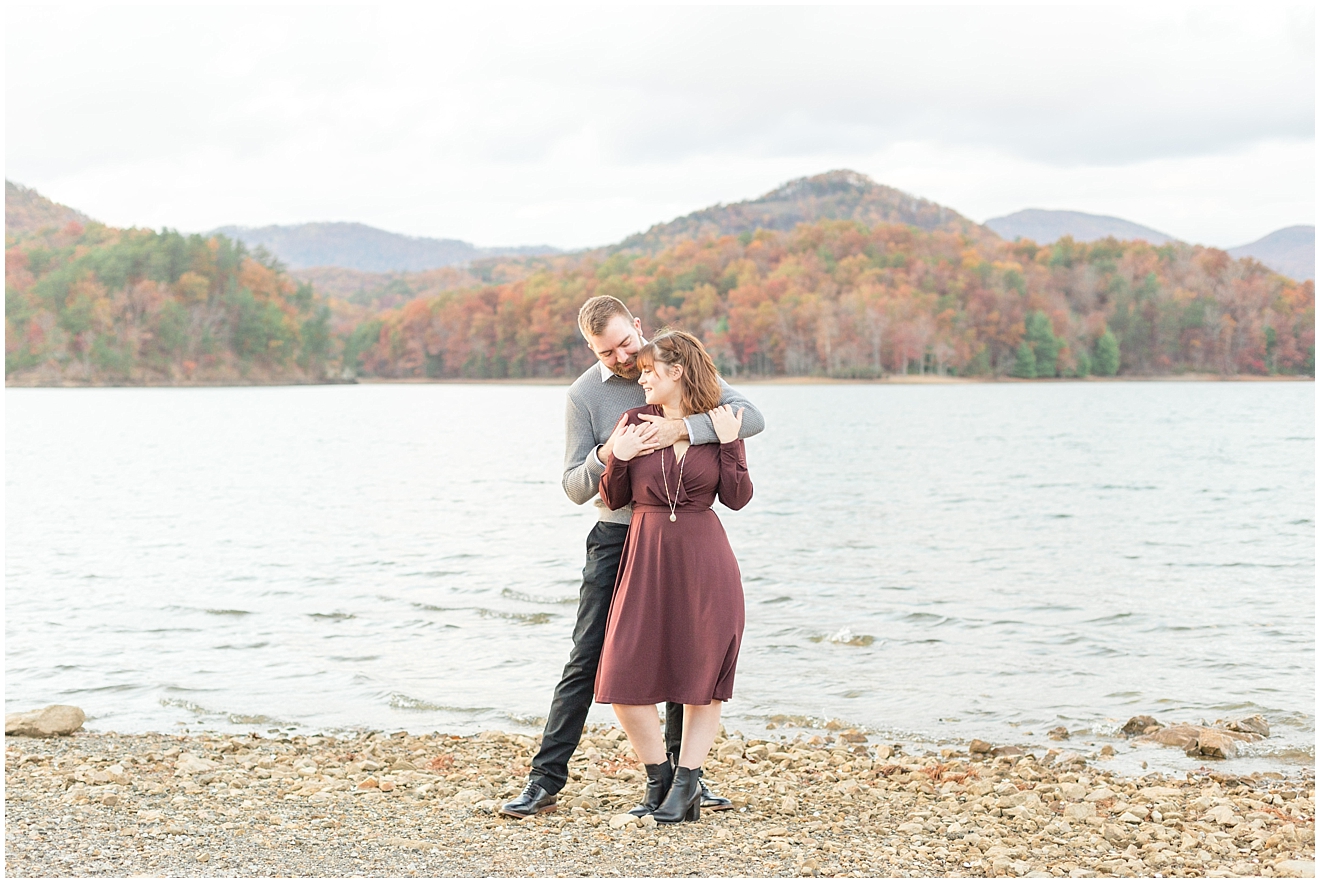
2. Go a notch (or two!) dressier than you would on any other day.
If you’ve hired an experienced, professional photographer, you’re making an investment – one which you hope will return images that will be priceless to you and your family. So why not put your “best foot forward,” so to speak? Choosing outfits that are dressier than your everyday wear will make the experience feel that much more special, and it will elevate your images, giving them a truly timeless quality (one that blue jeans just can’t quite reach)! If you purposely want a few images that feel more casual, you can always plan two sets of outfits – one casual, and one dressy. But I’ll always recommend selecting at least one set of outfits where jeans aren’t allowed.
Because, this photo wouldn’t have been nearly as stunning if Em + Clint were just rocking jeans and tees, am I right?! 😉
3. Ladies, even if you opt not to invest in professional hair + makeup, learn how to incorporate false lashes into your own makeup routine!
First of all, let me go on the record by saying that professional hair + makeup is always a win. It boosts confidence and it photographs beautifully – you cannot go wrong if your budget allows for pro hair + makeup! However, it is an extra investment that just doesn’t fit into every budget – and that’s 100% OK. If your portrait budget doesn’t allow for professional hair + makeup, let me let you in on a little secret – false lashes will elevate your look and flatter your features, at a fraction of the cost of full pro makeup. Yes, you’ll probably have to watch a few YouTube videos and do a practice run so that you feel comfortable applying them yourself on session day – but let me tell you from experience, it can be done and it’s totally worth it!
Now that I know how to apply falsies myself, I wear them every time Jason and I are in front of the camera! And this is why:
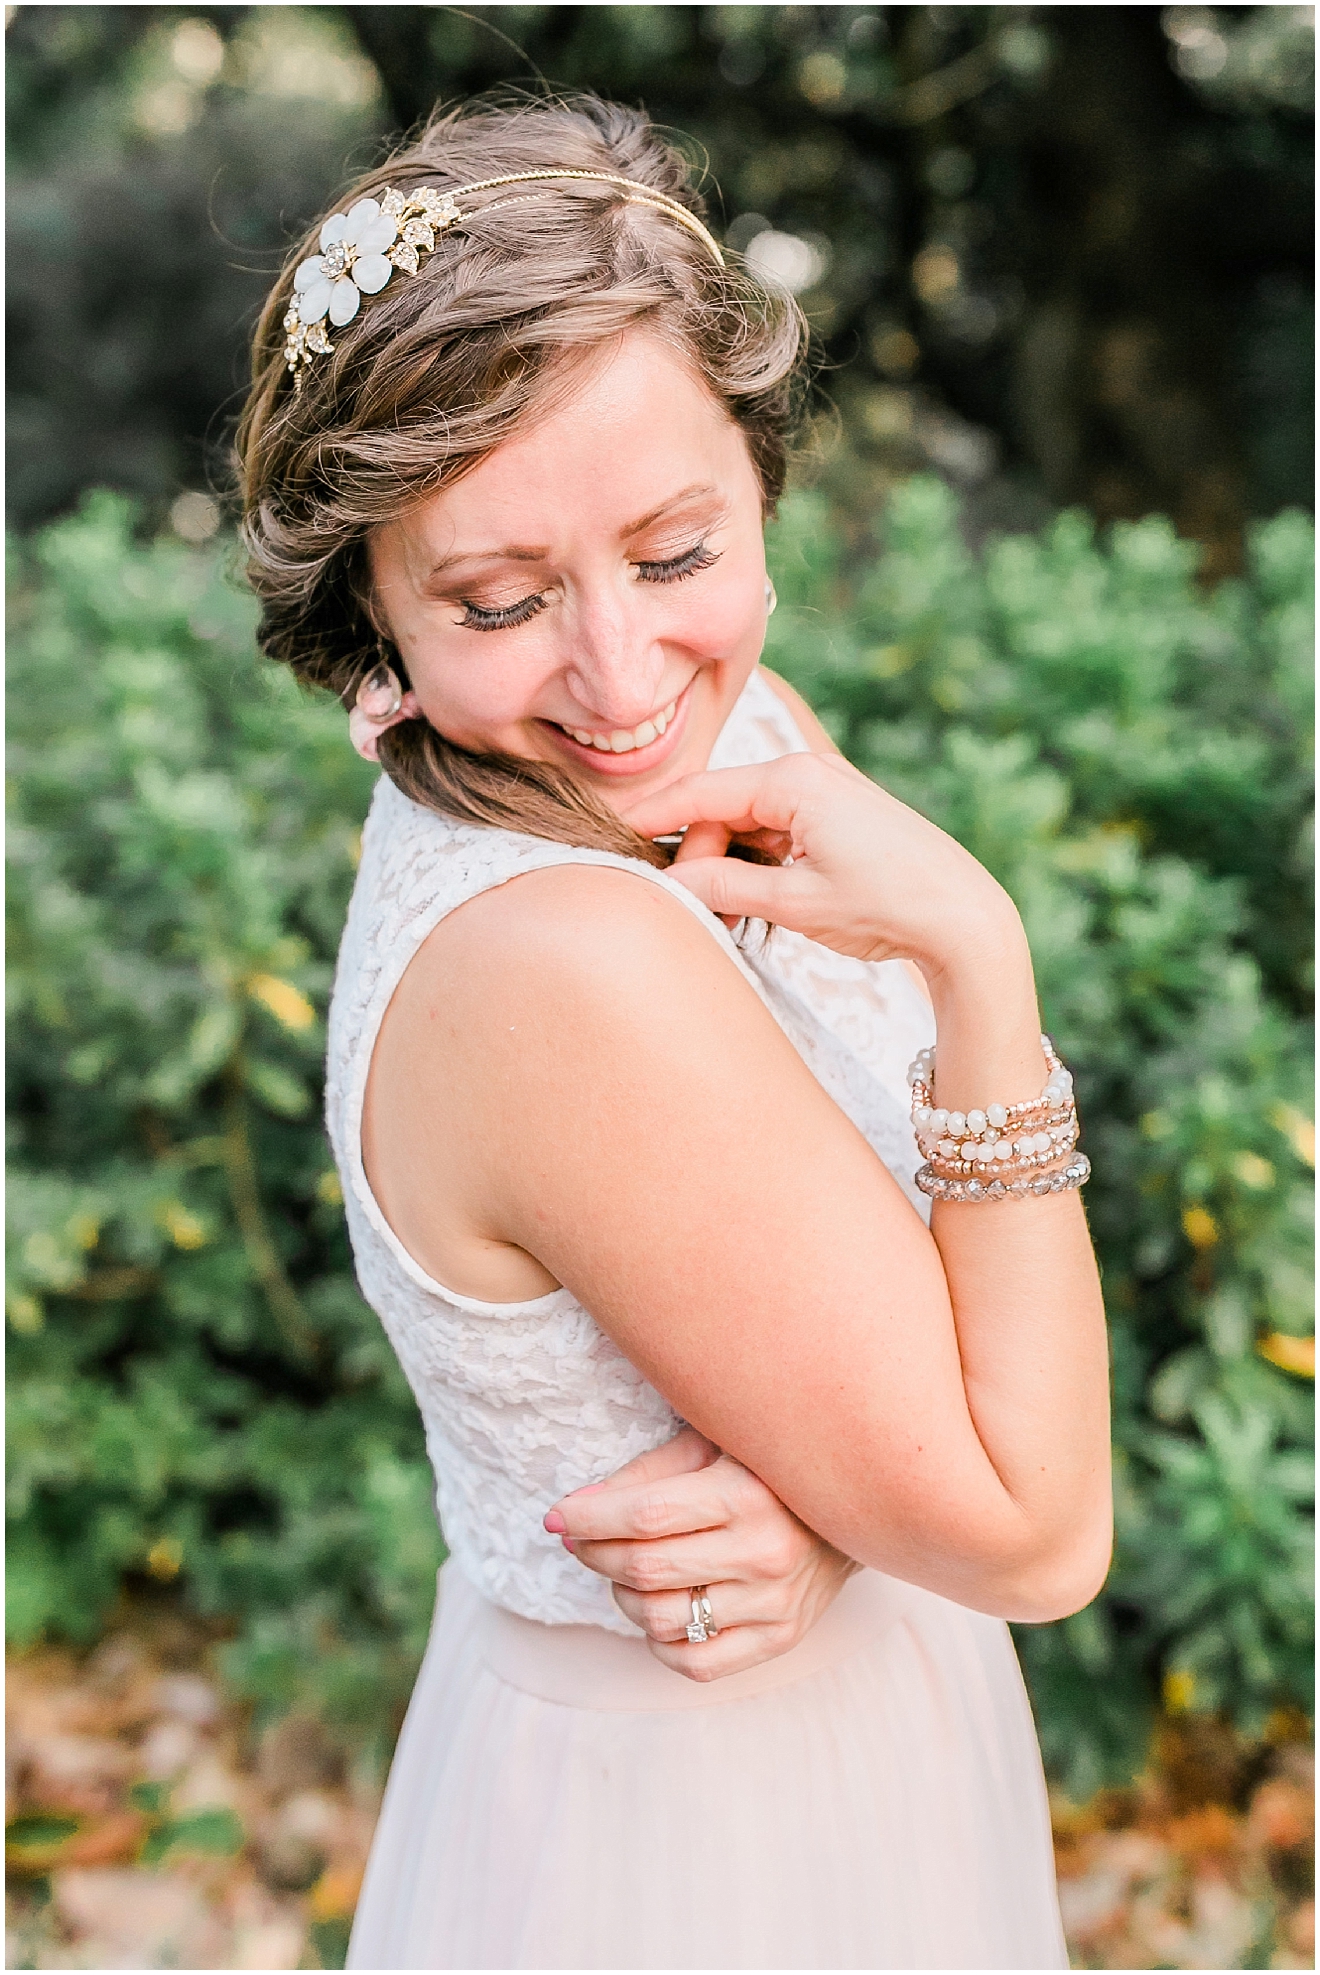
Ladies. Nothing about my hair + makeup here was pro – a side French braid is literally the only pretty thing I can do with my own hair, and I did my makeup myself (exactly like I do every other day of my life), but I applied these falsies instead of just putting mascara on my natural lashes. And they add such a POP to the image, don’t they??
100% worth the 15 minutes I spent watching YouTube videos, and the trial run I did a couple of weeks before our session!
4. Include a special accessory for each family member.
Y’all, this one goes SUCH a long way in the overall feel of your images! The right accessories added to your outfit are like the fondant flowers delicately perched atop this French macaron:
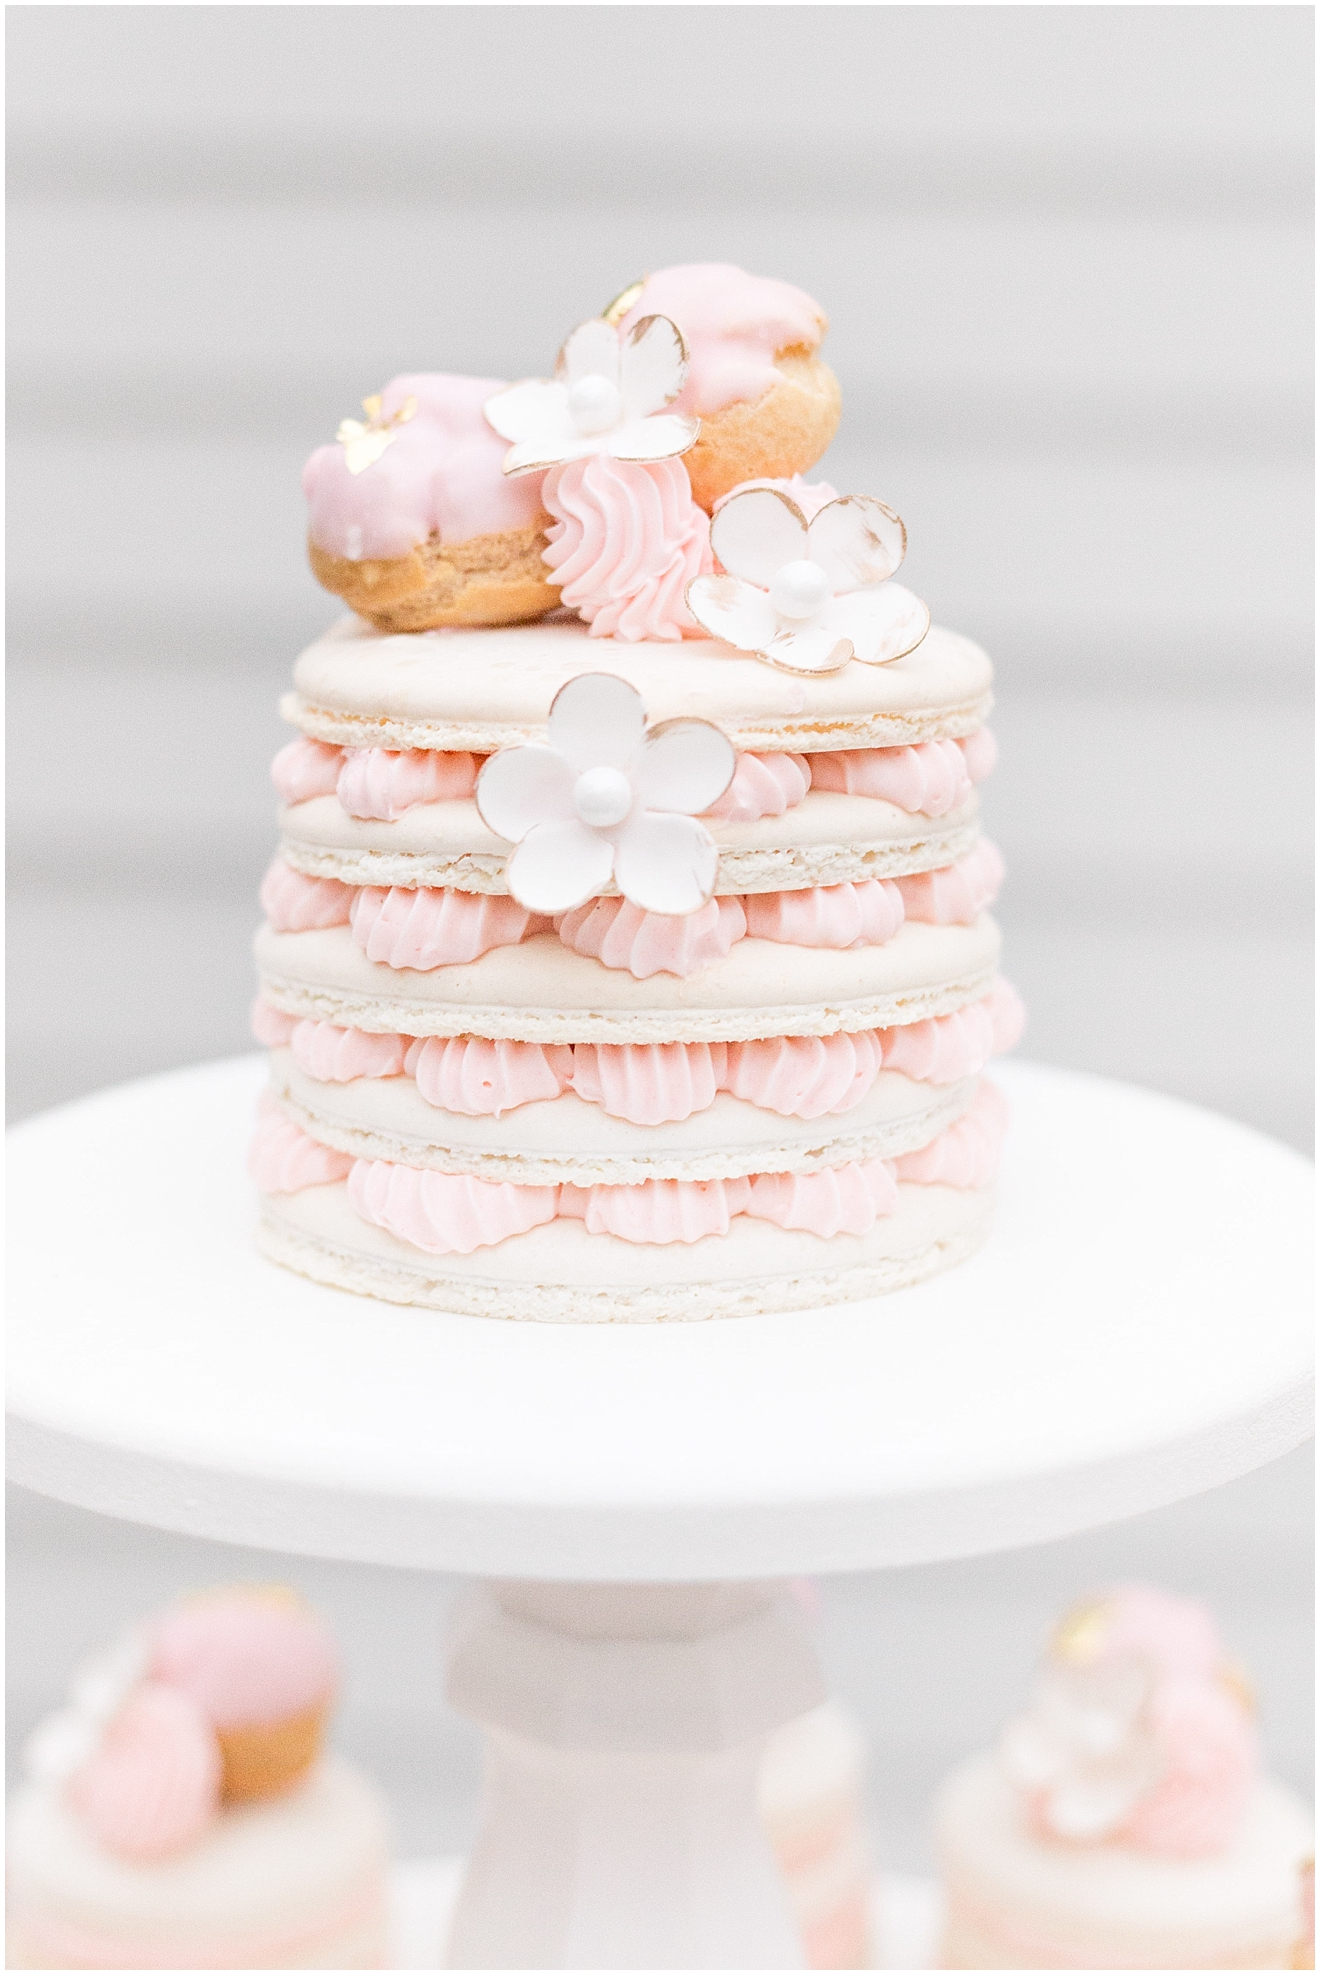
Without the flowers, the macaron would still be sweet (and cute!) – but with the addition of those little flowers? It’s a work of art. (p.s. there’s so much more pretty where this little morsel came from – for more French-inspired romance, check out my recap of Abby Grace’s A Practical Wedding Workshop from a few years back! #allthehearteyes)
But I digress (french macarons will do that to me). Back to accessories! It can be as simple as a pretty jeweled headband for mama bear and flower crowns for your little girls, or a tie + pocket square combo in papa bear’s jacket and suspenders + a bow tie for your little guys. And, just in case you don’t believe me…
Exhibit A: the ~$10 flower crown (to go with that blush chiffon vintage dress! GAH! I. can’t. even.)
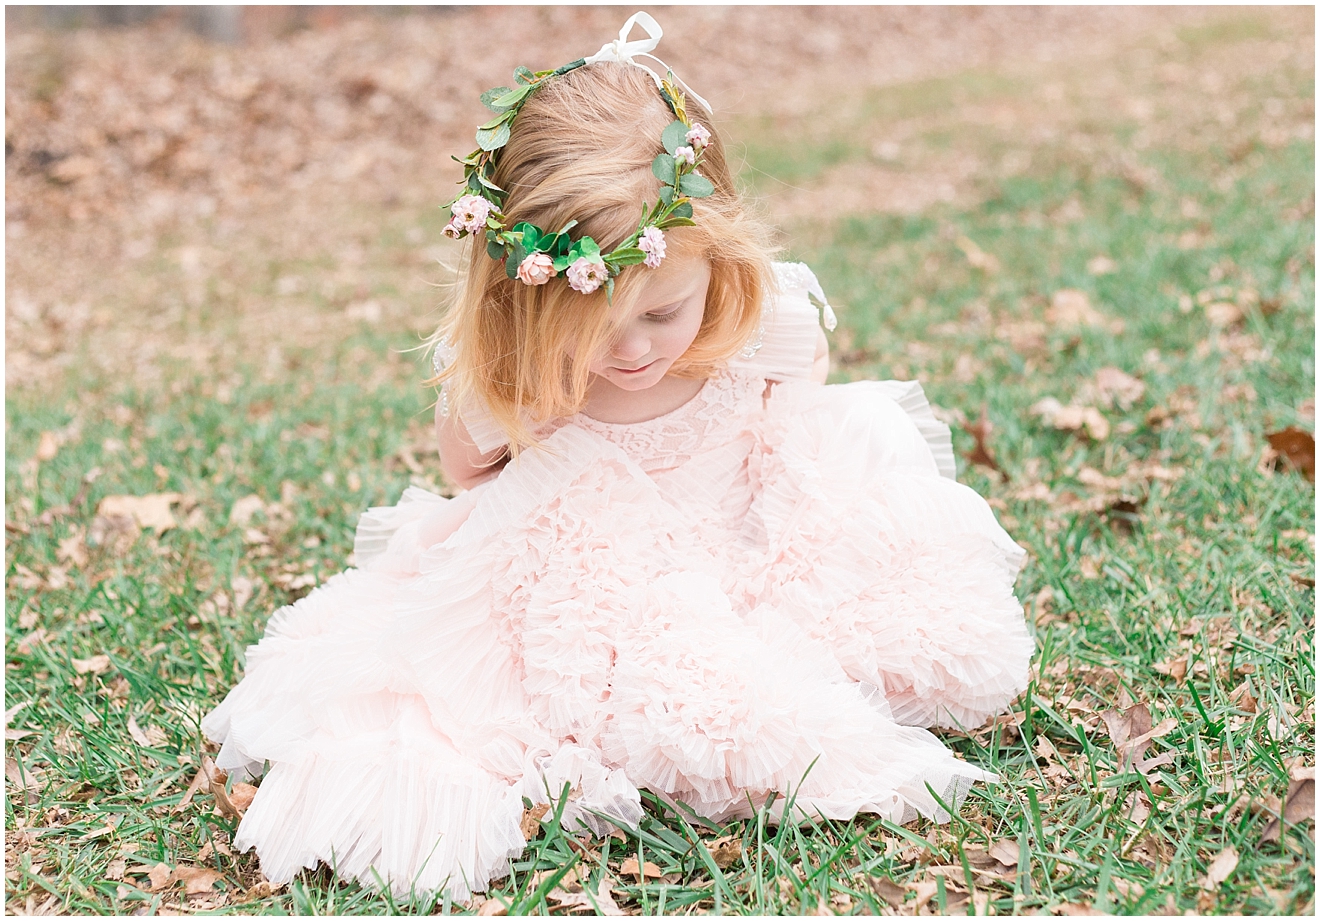
Exhibit B: the $4 flower clip + the ~$8 seersucker tie
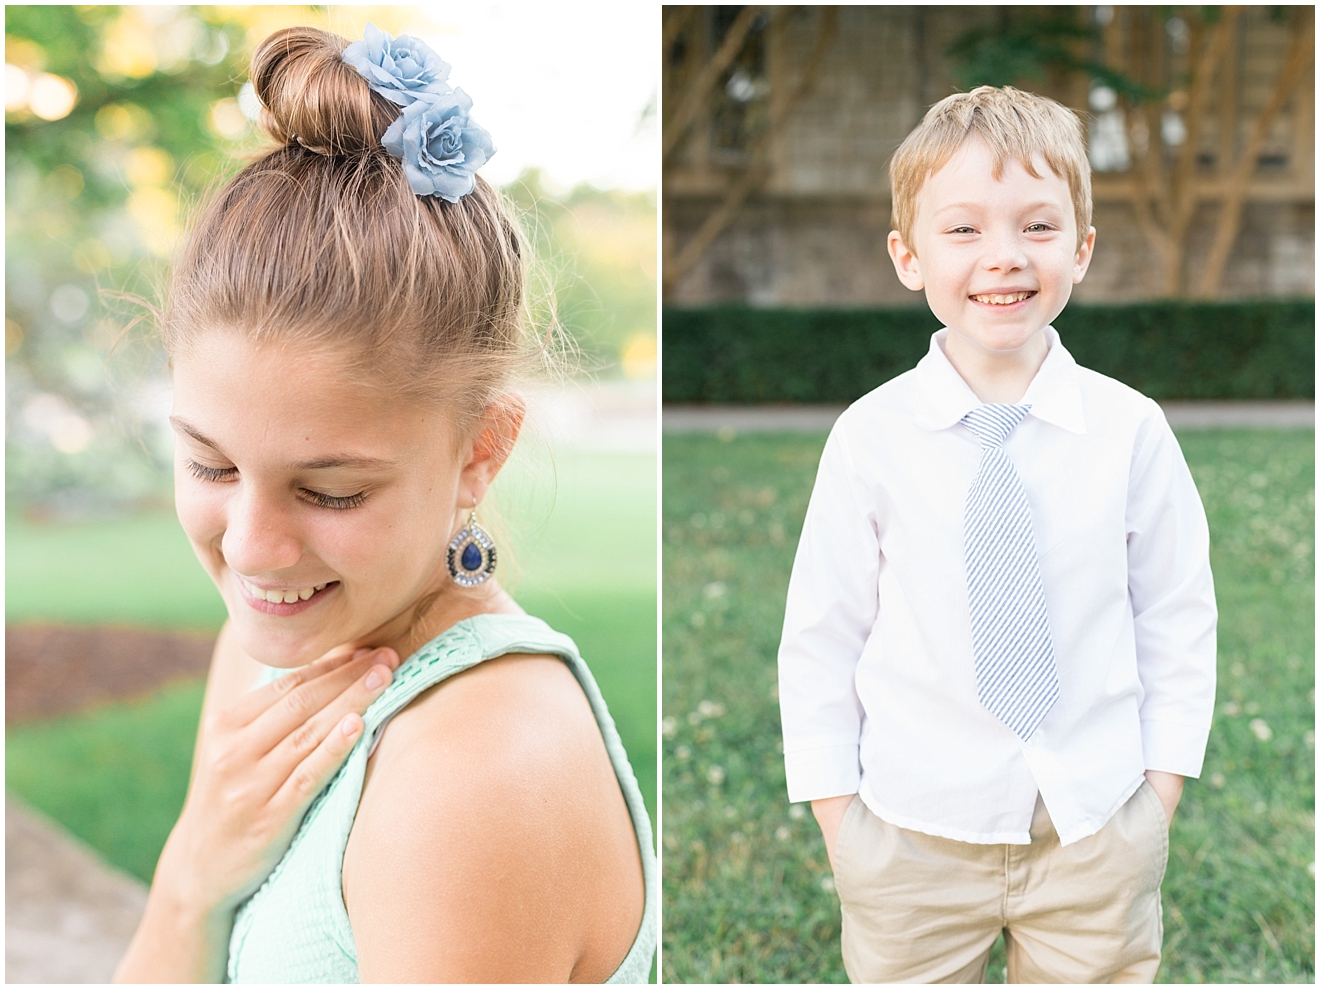
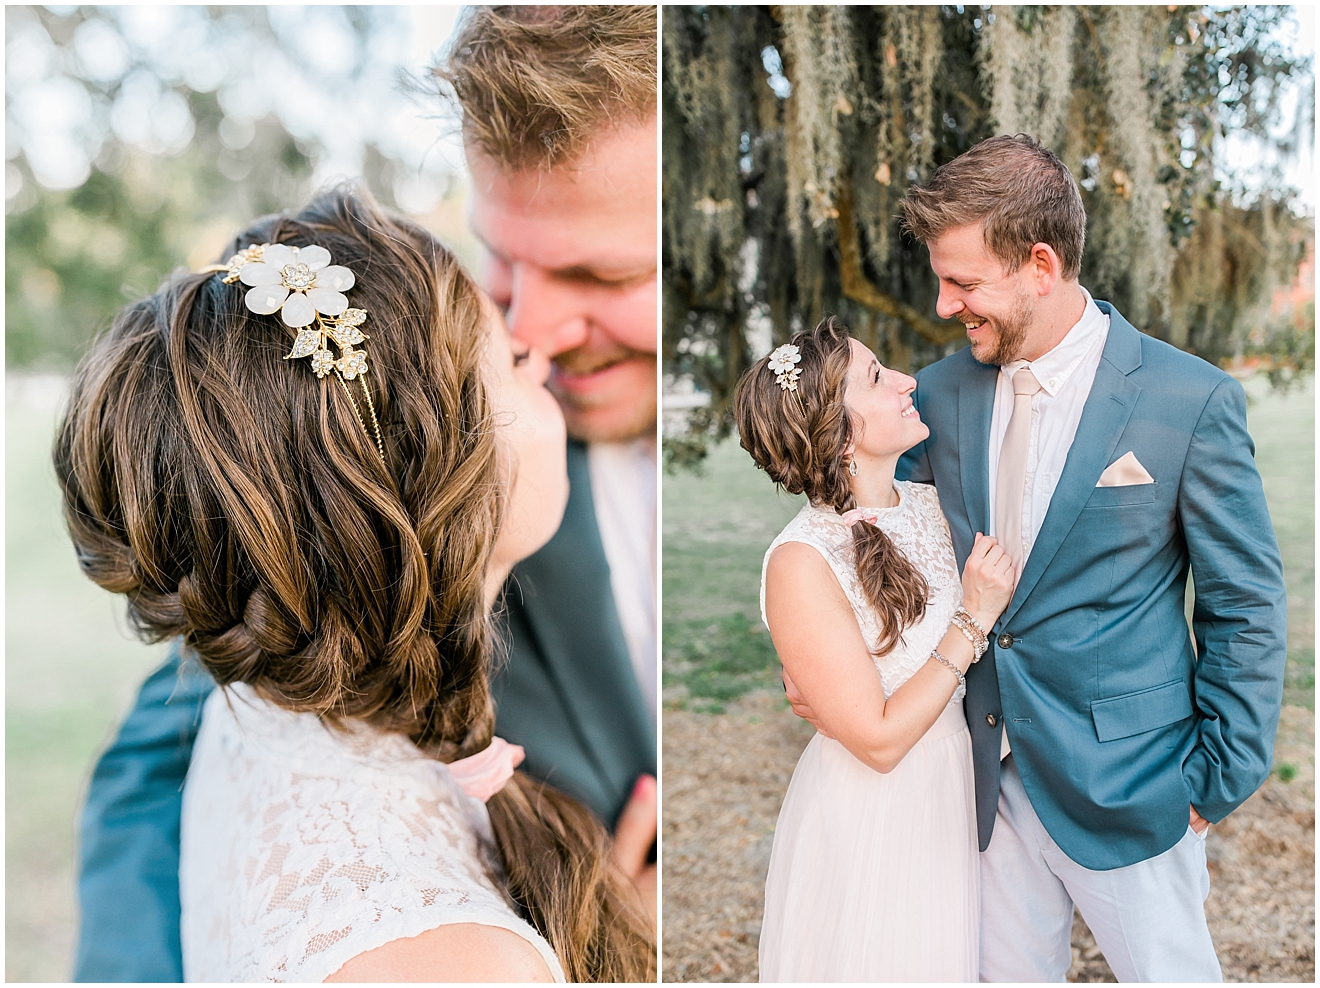
Exhibit C: the $13 jeweled headband + the $20 blush tie + pocket square combo (both from our own anniversary session in Savannah last fall!)
If I haven’t convinced you by now that accessories = #winning, then I’m not sure I’ll be able to convince you at all! 😉
Well, friends, that’s it! My four best tips for getting the most out of your portrait session!! I hope they will be both helpful + inspiring when it comes time for you to plan your next session! Leave me a little note in the comments below and let me know which step you think makes the biggest impact! Or, leave a comment if you have other session-planning questions I might be able to answer in a later post! I would love to hear them!
Sending the biggest hugs your way!
(p.s. if you’re smack in the middle of planning a session, you may also want to check out this post about selecting your session location!)
pssst! If you liked this post, you may also like these other photo-session-planning resources:
free PDF download: Photo Session Shopping Guide
blog post: diy floral crown, boutonniere, and pup corsage for photos
blog post: 3 things to consider when choosing your session location

Great ideas as usual!