
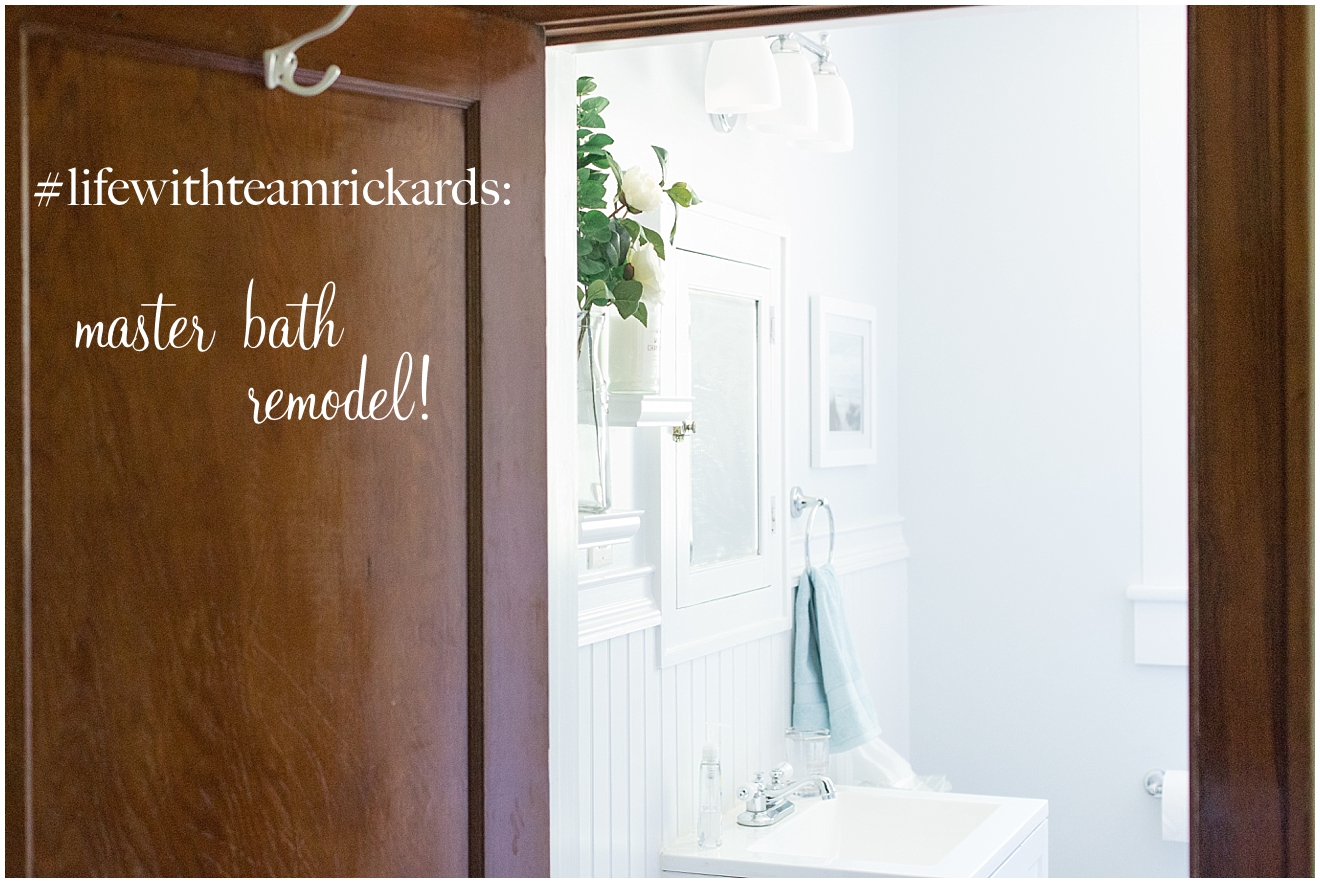
This is a different sort of post for me to share, so I hope y’all enjoy it! And I should preface by saying that I am most definitely NOT an interior designer, nor am I aspiring to be one! I’m just a photographer (and a mortgage loan officer) who loves to play with colors and textures – and I happen to have married a man who is pretty stinkin’ handy! So I debated whether or not to share this process with y’all, since it’s not exactly in my wheelhouse and I can’t promise that home remodel projects are something you’ll see regularly on my blog … but I have to say, there were so many sweet friends who followed the updates in my instagram stories, and who would ask me about our progress every time they saw me, that I felt like there might be some people who would really enjoy seeing the finished product on the blog! So here we go!
First, for some reason, I feel like I should mention that this remodel wasn’t exactly planned. In fact, we’ve planned & completed a lot of home improvements during the 5 years we’ve spent in our little bitty house, but our master bath was never on the to-do list! Sure, we weren’t in love with it – it wasn’t exactly finished the way we would have done it (I never cared for the floor tile that was in there, Jason never liked the vanity, the trim didn’t match the rest of the house, etc), but it wasn’t awful. A fresh coat of paint would have done wonders for it. So I always thought we would remodel our guest bathroom (because y’all, it’s pretty hideous) before we ever touched our master bath. However, as homeownership goes sometimes, we had an incident with some damaged tile in our master tub/shower that left us with only one option: re-tile the tub surround.
In and of itself, ripping out the old tile and drywall and installing water-resistant hardie-board and new tile wouldn’t have been too terribly big of a job. But if you’ve ever met my husband, it probably doesn’t surprise you to hear that he is an all-or-nothing kind of guy. So, when we started to assess what needed to be done with the tub surround, he says to me, “You know, while we’re doing this, I could always get rid of this floor tile you’ve never liked and we could put some new flooring in here.”
You know, because taking out the toilet and the vanity and jack-hammering up the floor tile really doesn’t add that much work/time/budget to the project, am I right?
[if only I could insert all the laughing-till-you’re-crying emojis in a blog post. they would go here.]
So here’s what our bathroom looked like the day I “moved” us out of it and into the guest bathroom:
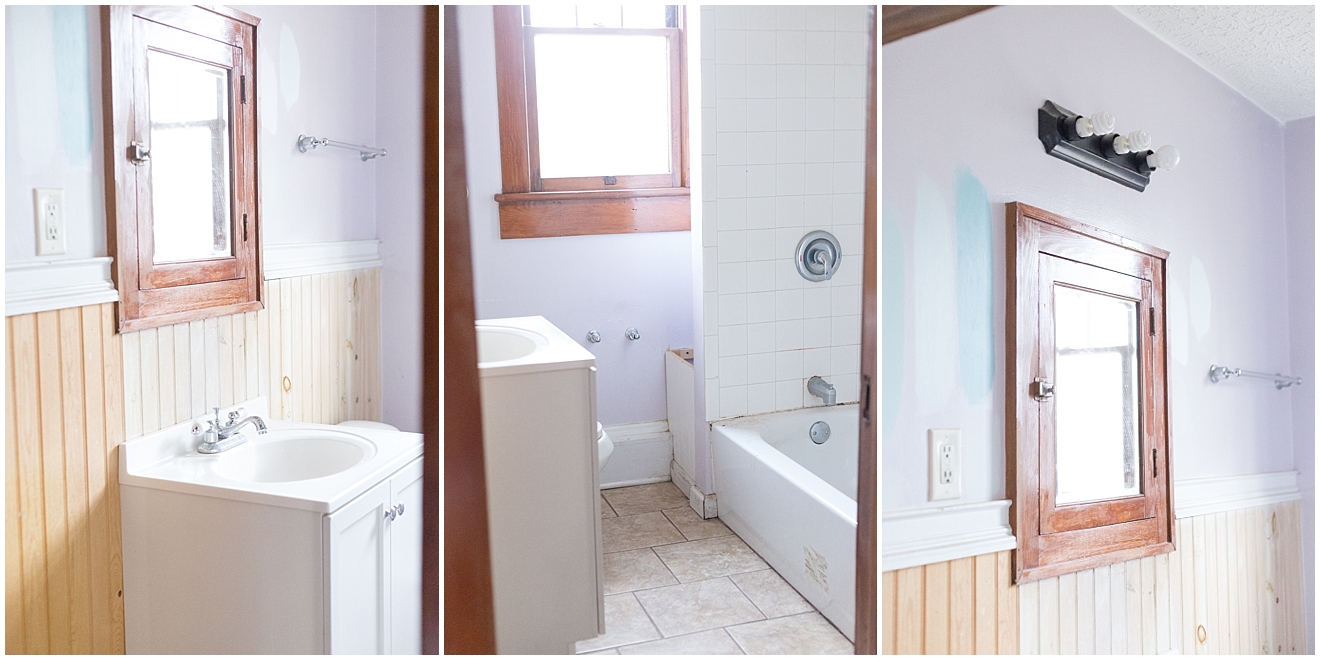
Yes, it pretty much looked like this when we bought the house. The beadboard was unfinished, the light fixture was bare-bulb, the trim wasn’t uniform. I do have to take responsibility for the paint samples on the walls, though – they were my doing. And I should also probably admit that most of them have been there for, like, 3 years. Don’t judge.
Here’s a glimpse into what it looked like after demo day:
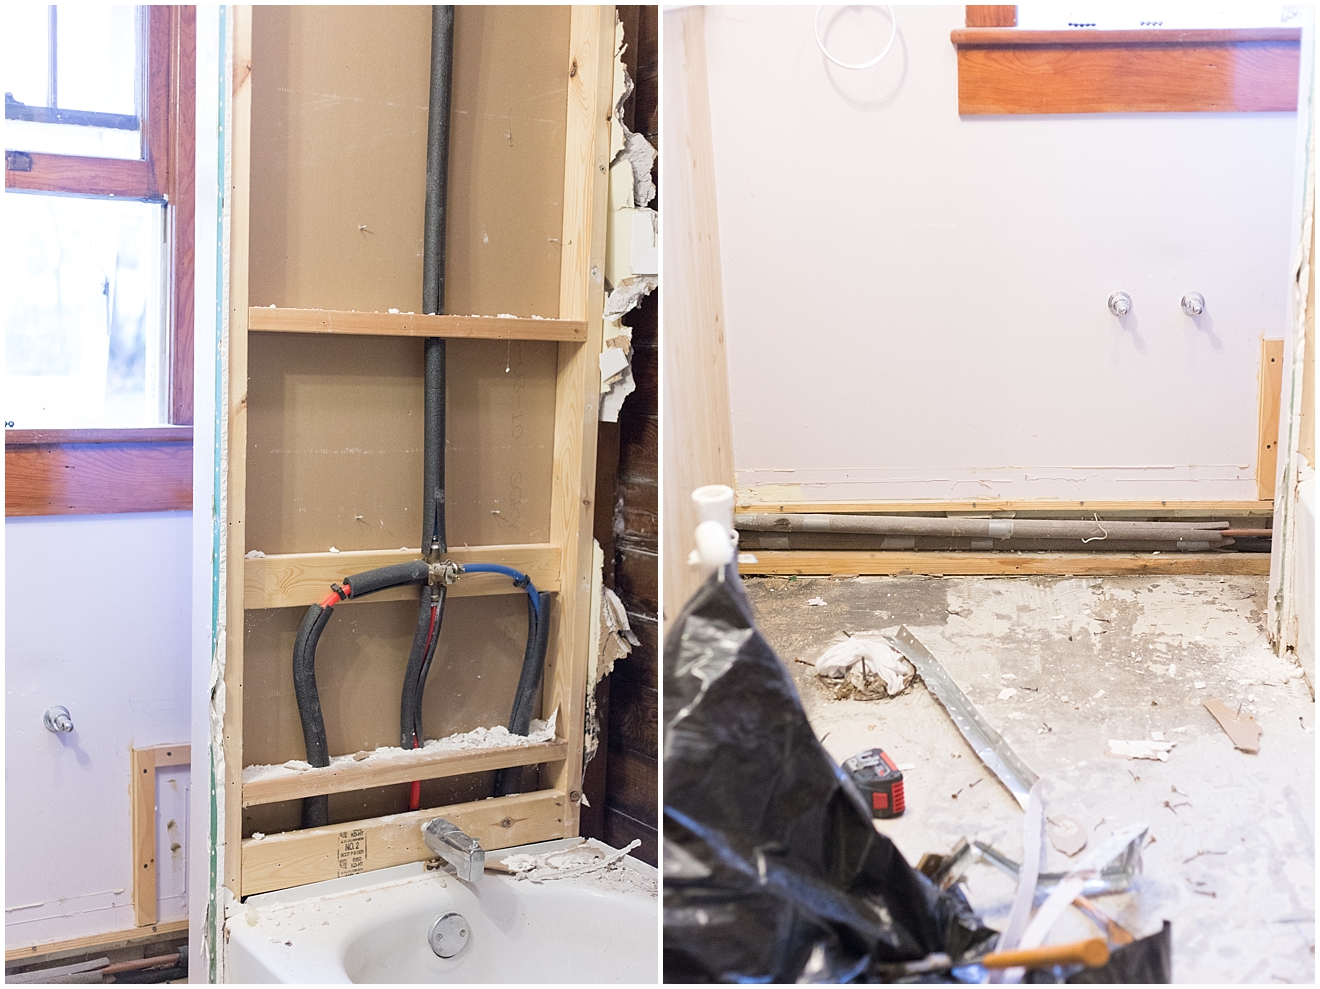
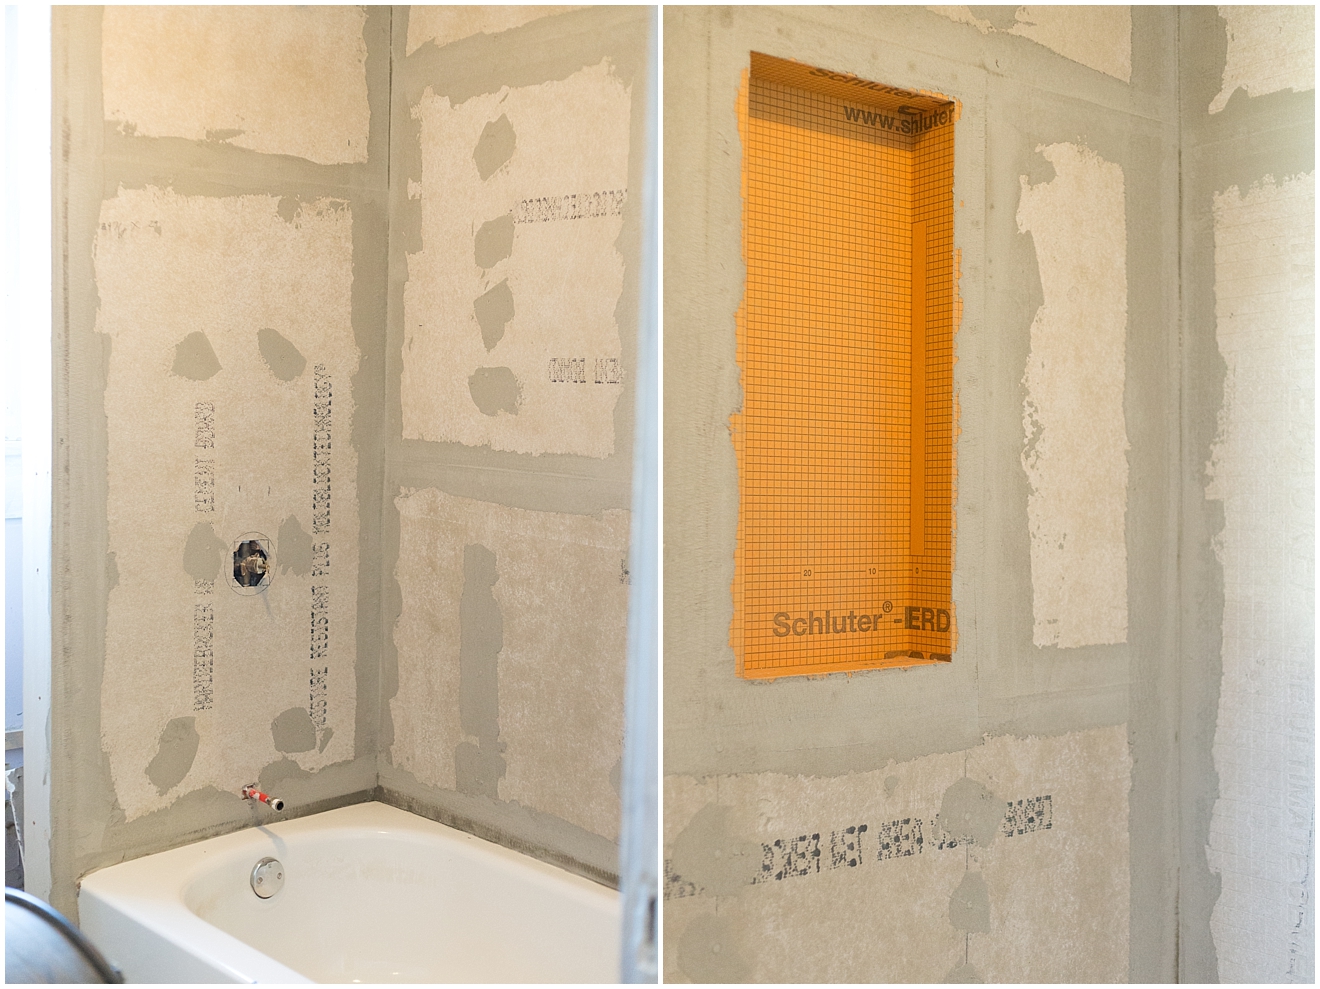
After tearing everything out, the next step was to install hardie-board, which (as I understand it) can be used as a more durable, and water-resistant, alternative to drywall. Which you definitely want behind your shower tile! The orange section is the insert we purchased to frame out two built-in shelves in the shower! It did slightly increase the budget and the labor time, but now that it’s all finished? worth. it.
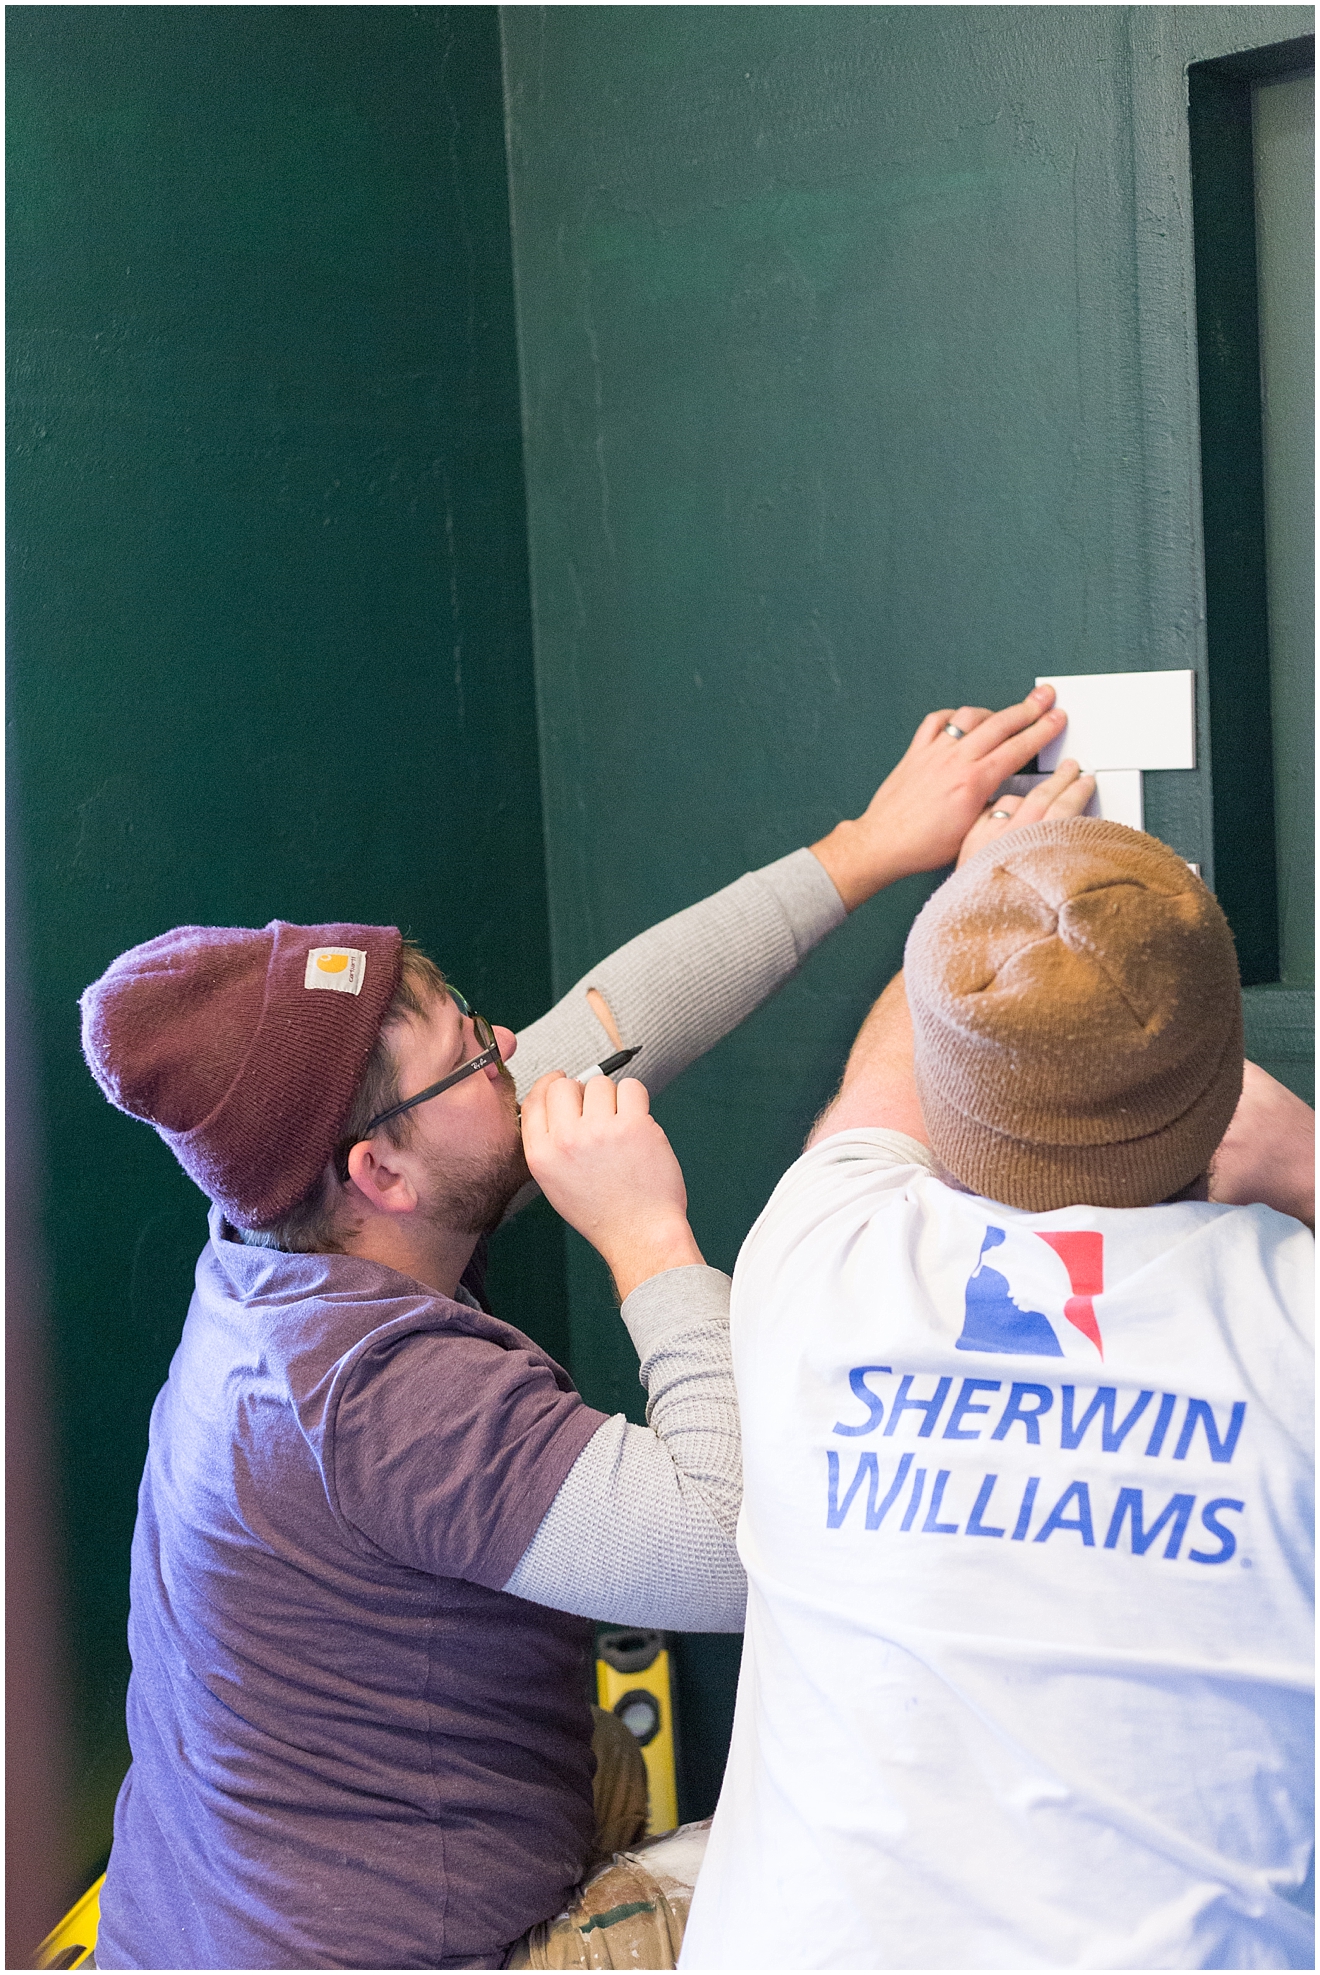
We (and by “we” I pretty much mean Jason) then coated the hardie-board with a waterproof film (that’s why it is a dark green color in the next image) and then it was finally time for the boys to start laying tile. (Thank goodness for best friends who are also experienced tile layers!) Technically, they first mapped out the pattern I wanted and then they started laying. (See below. They’re so smart.)
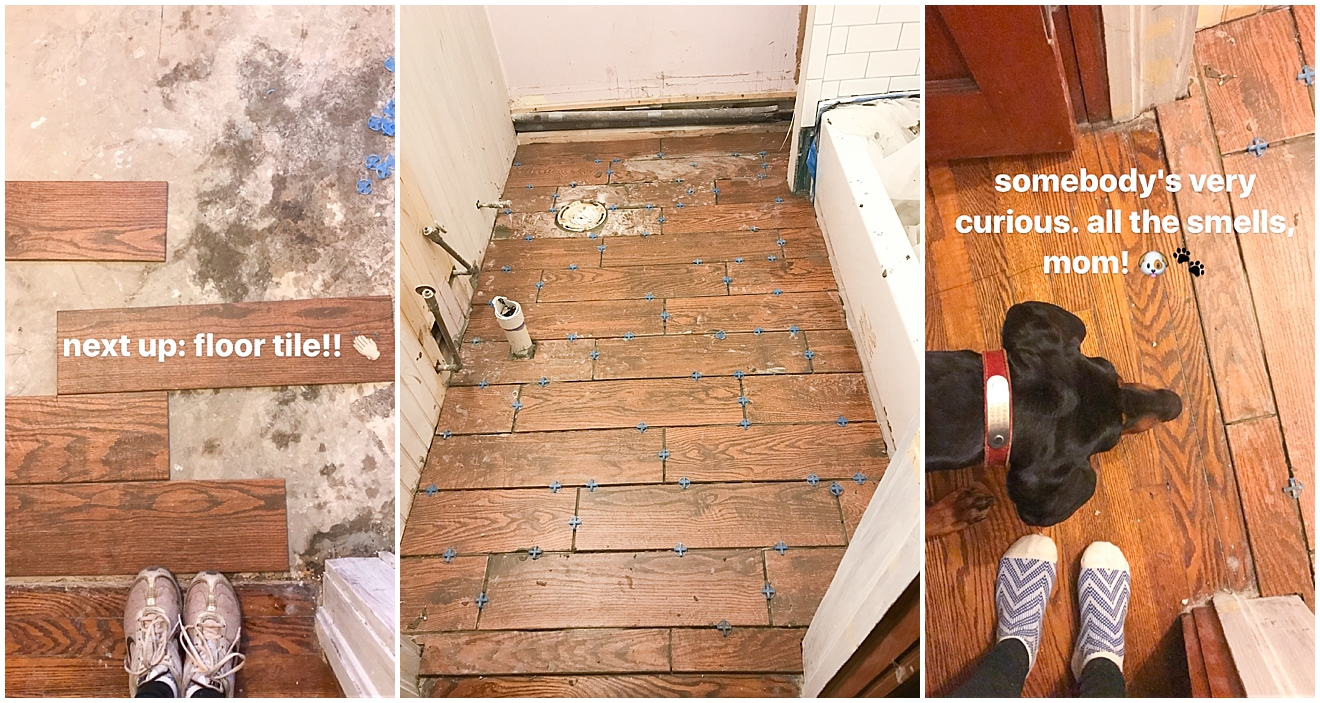
Mona was super curious about this whole thing. Why is there so much noise coming from this room? Where did all the things go? What are all of these smells? And WHY won’t you let me in there to check it out??

Somewhere along the line, I realized my life would be so much easier if I just saved my insta stories and snap chats instead of trying to remember to break out my big girl camera every time we made progress. So if you followed along on insta, some of these next images might be familiar to you! 😉
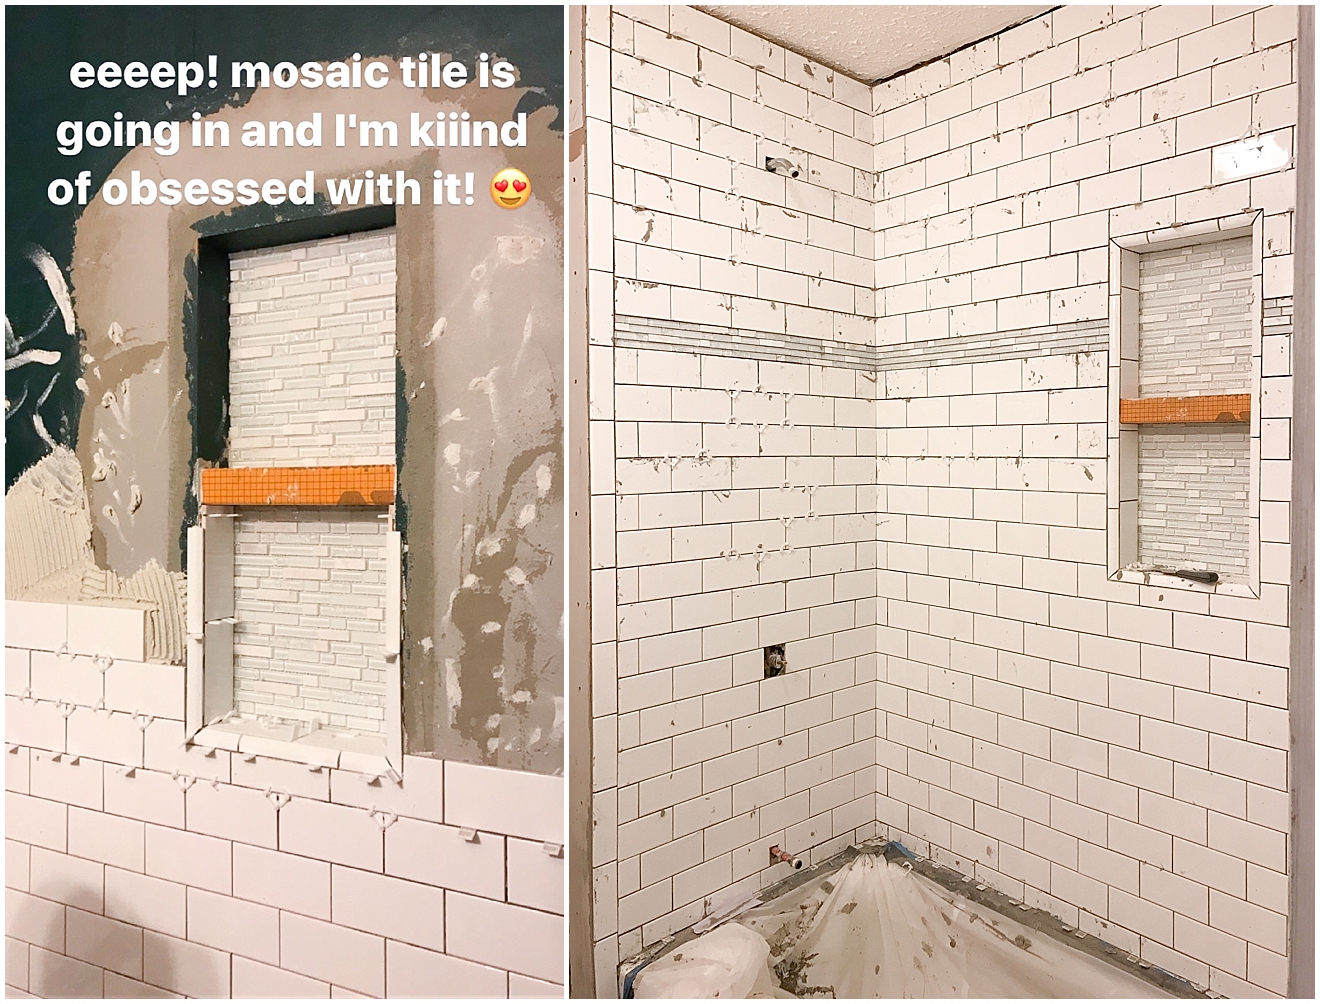
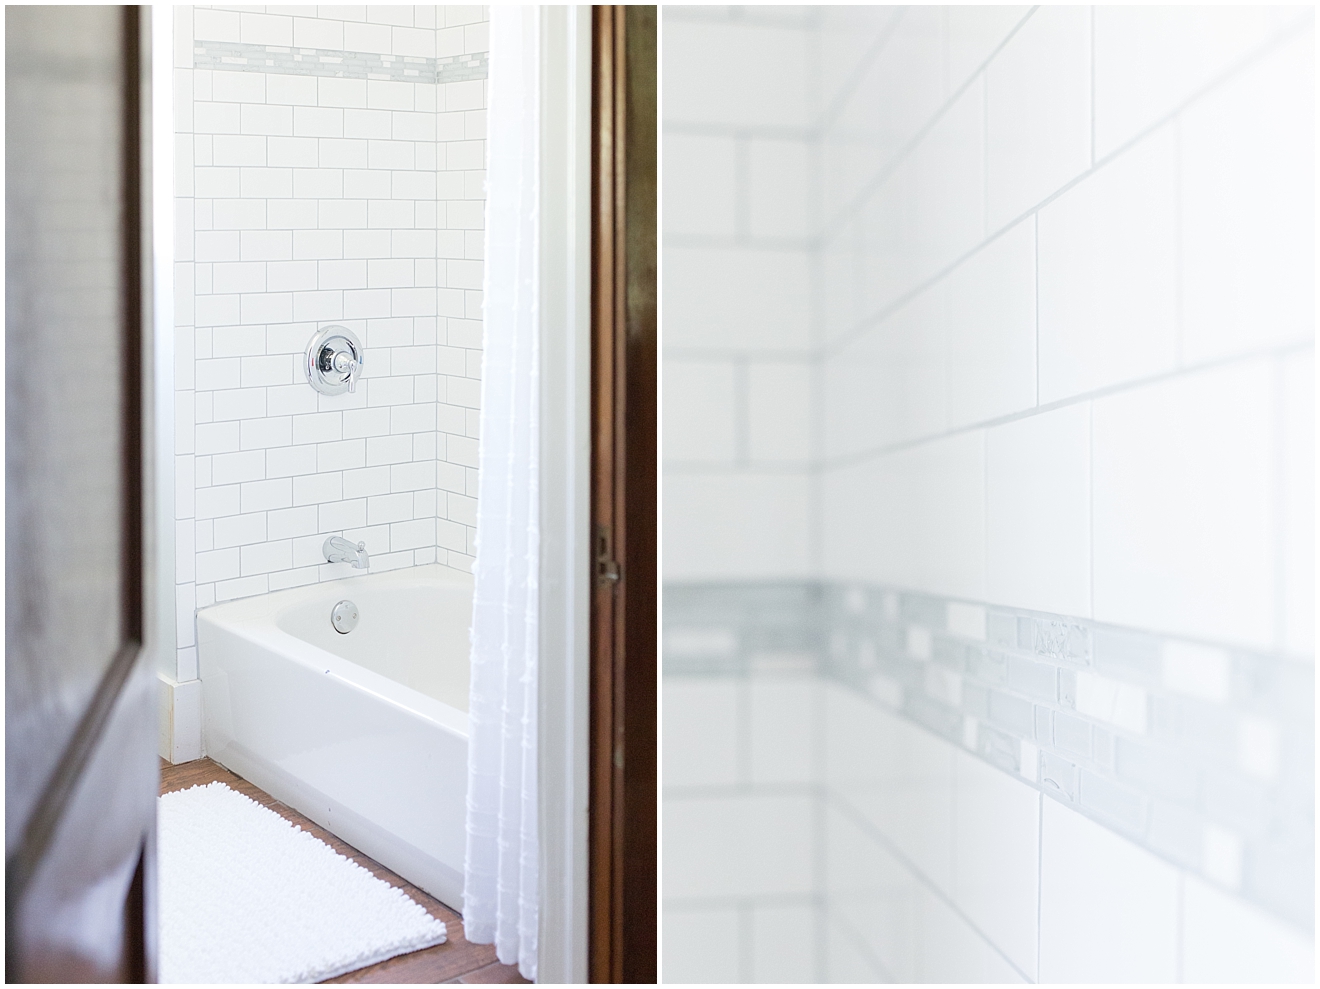
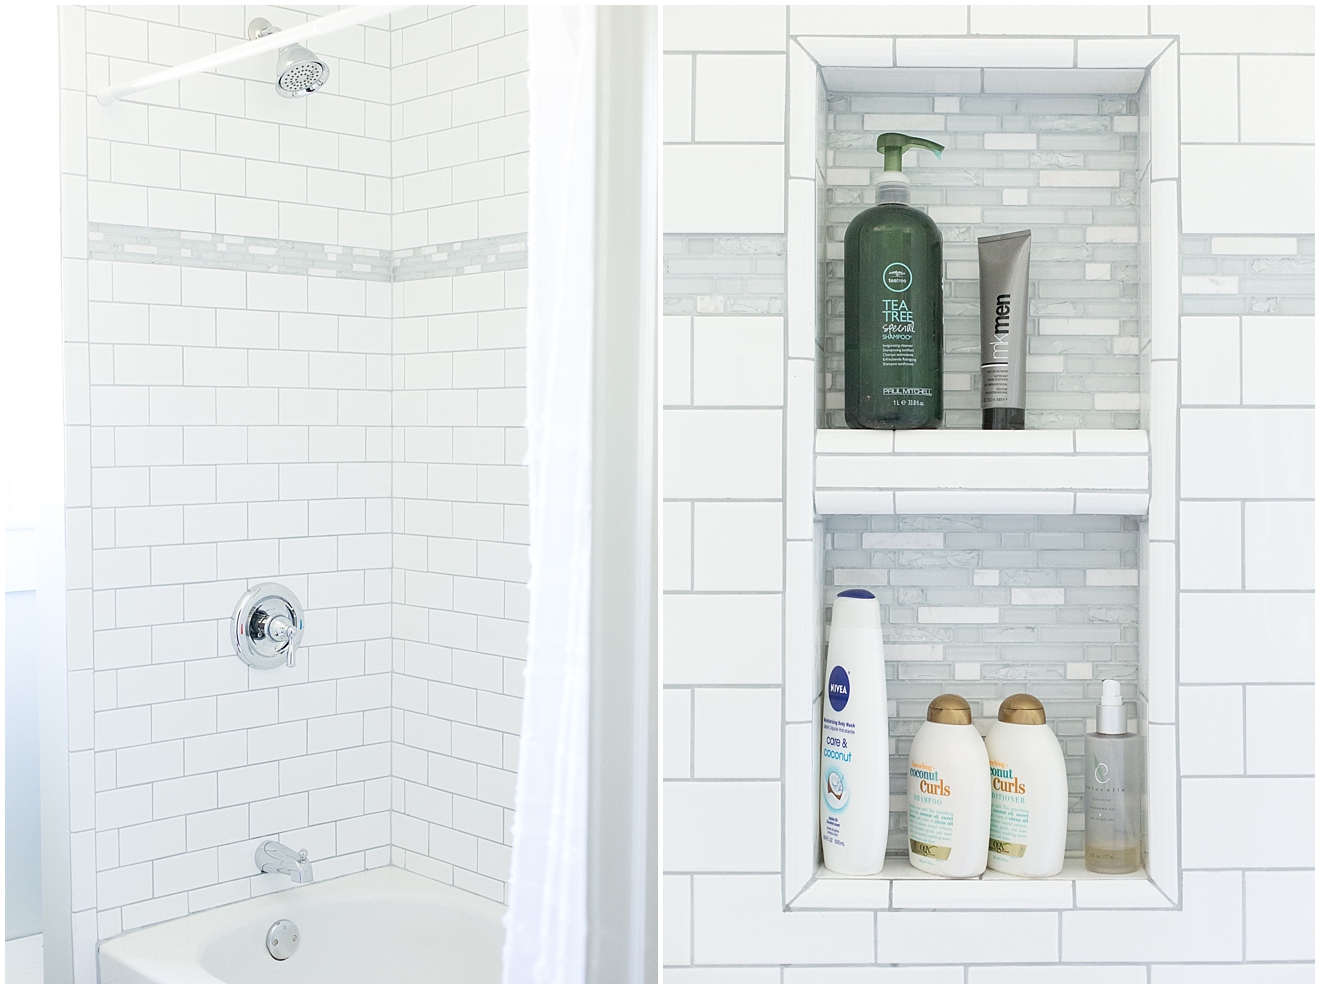
The shower tile was by FAR the most time-consuming part of this project. Those little subway tiles (plus the mosaic border and niche shelf) really are a lot of work, but just wait until you see the finished product! ALL the heart eyes!
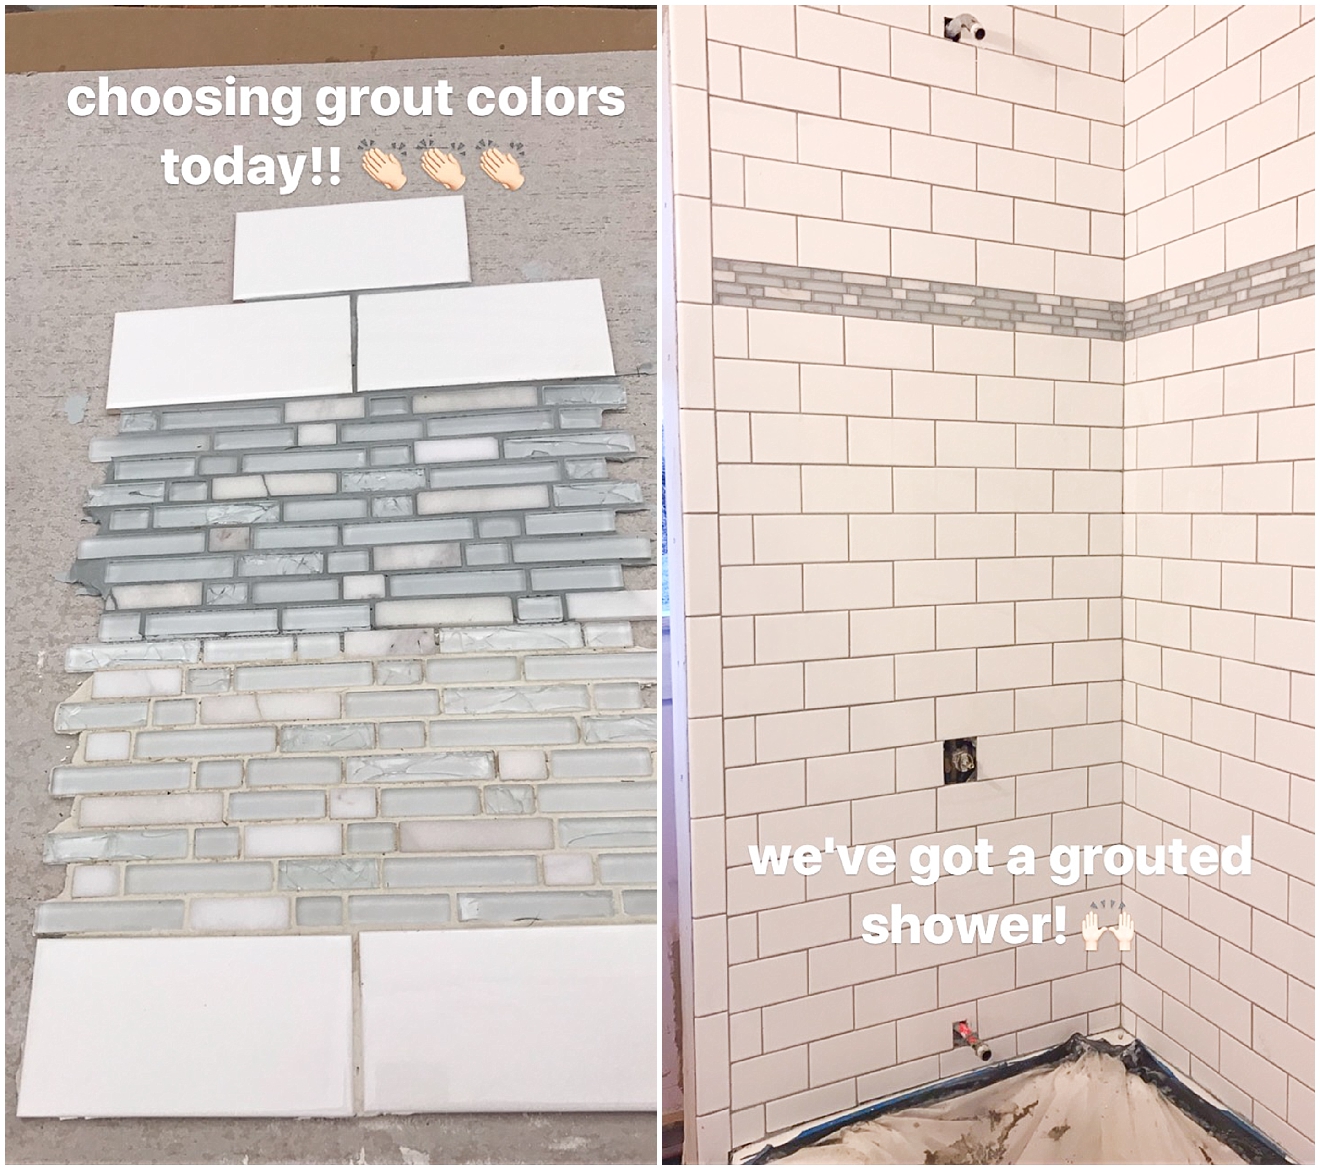
I thought for sure I would want to go with white grout, but when we compared the white and gray side-by-side, it was a super easy decision – the gray looked amazing with that mosaic tile!
The floor went in super quick (yay for big tiles in a teeny space!) and it finally started to look like a real living space again!
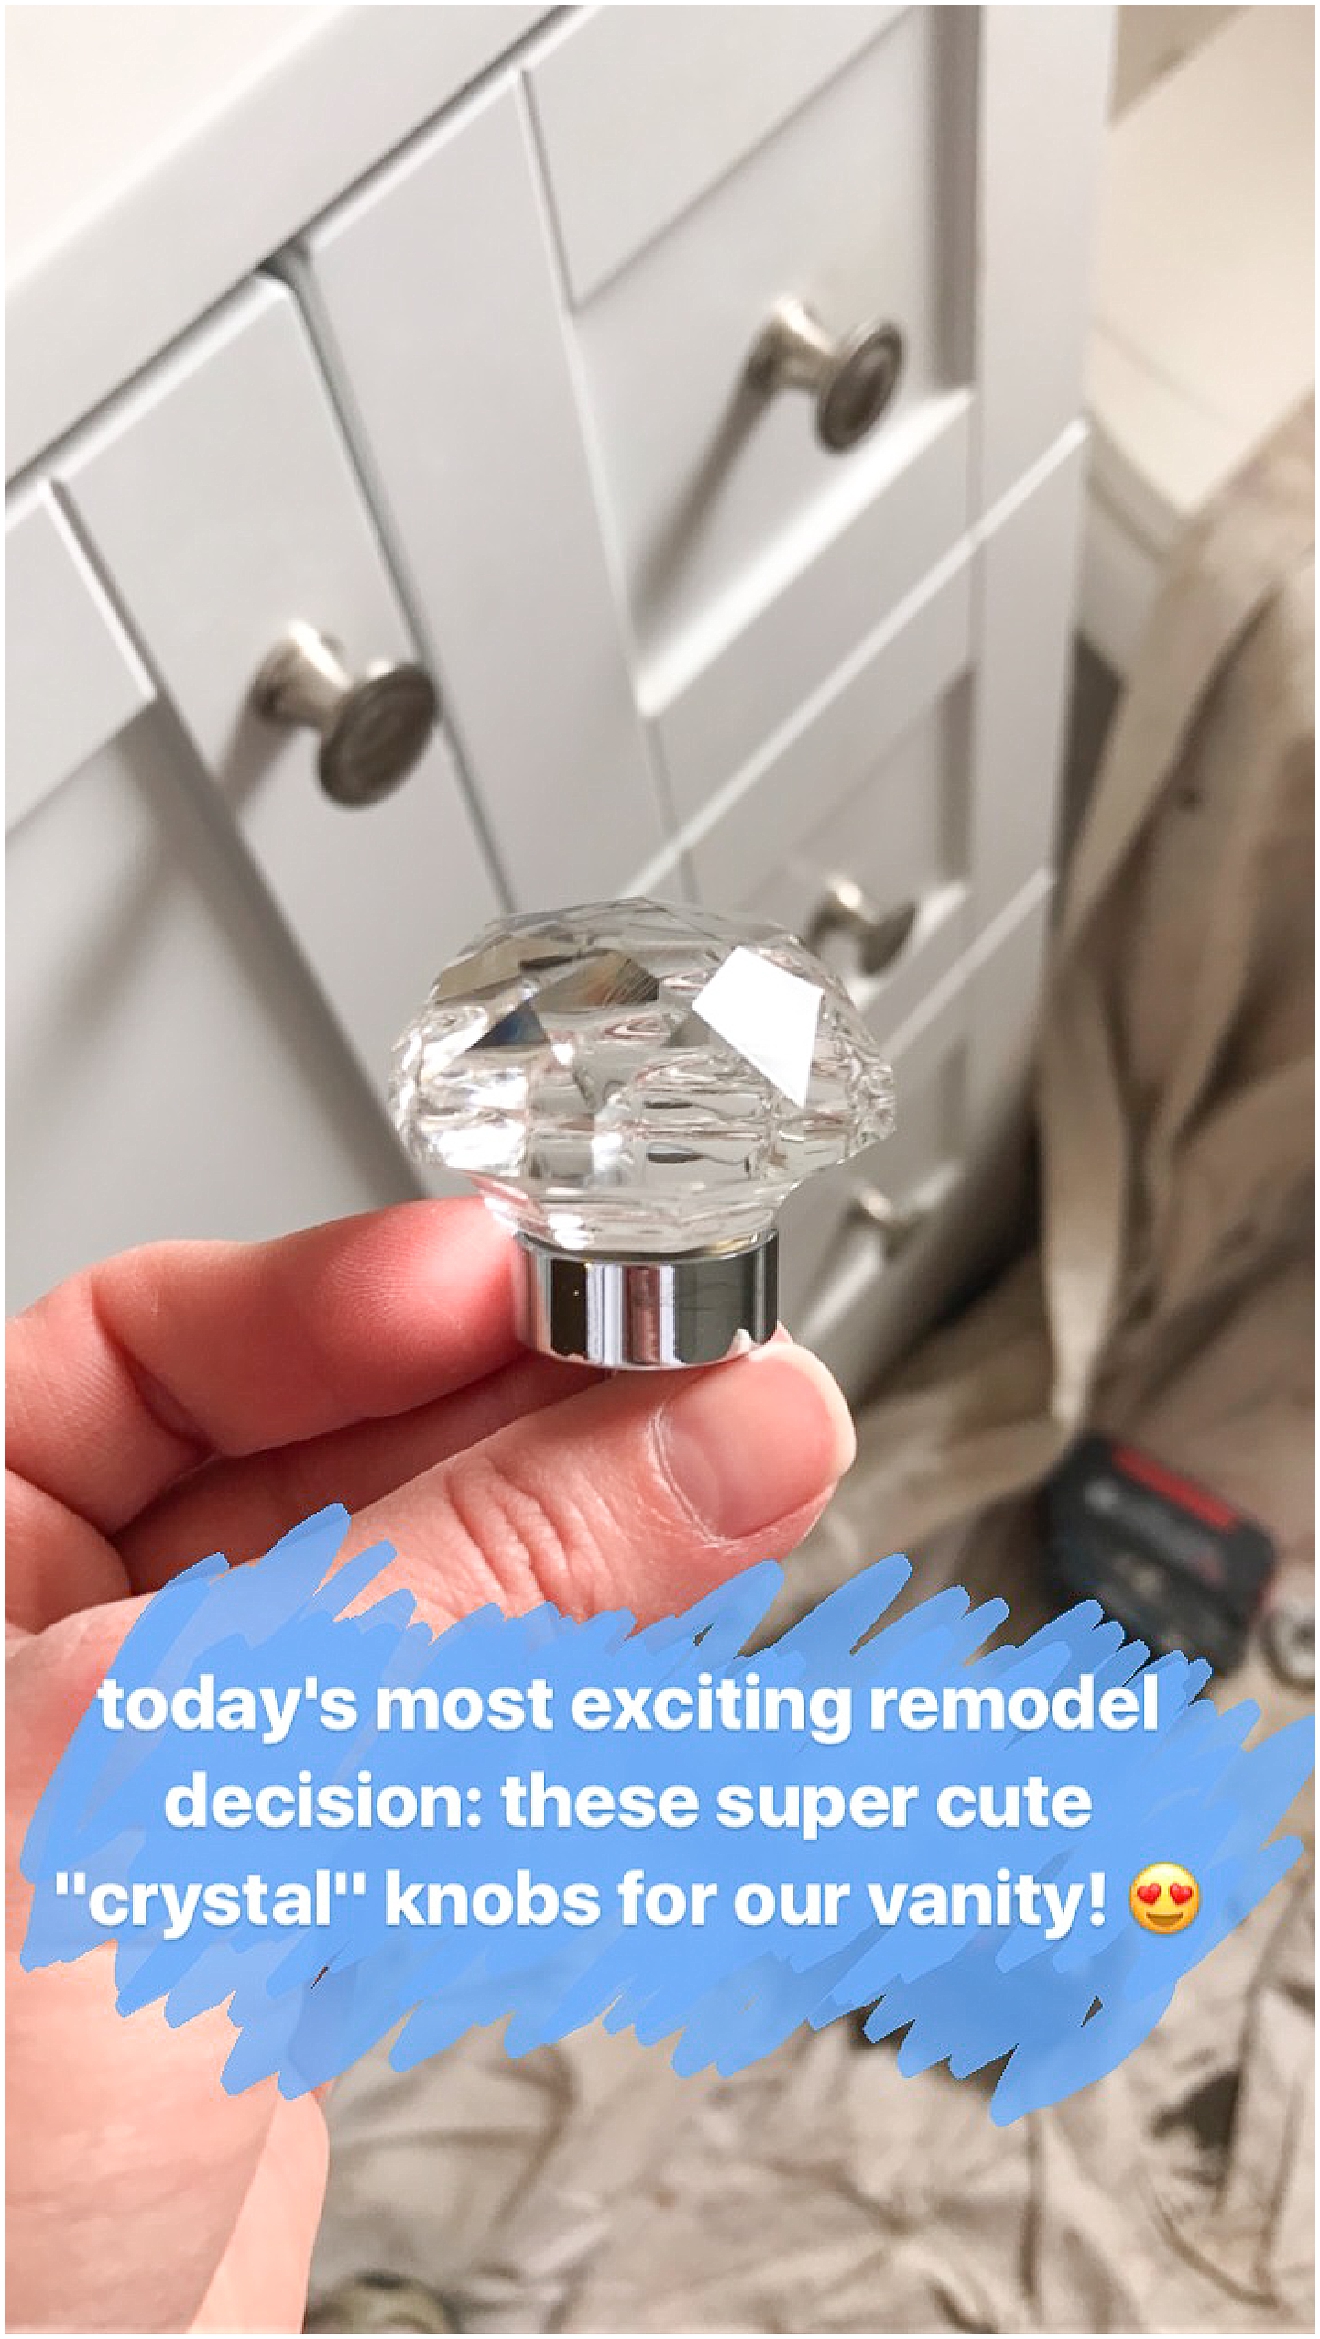
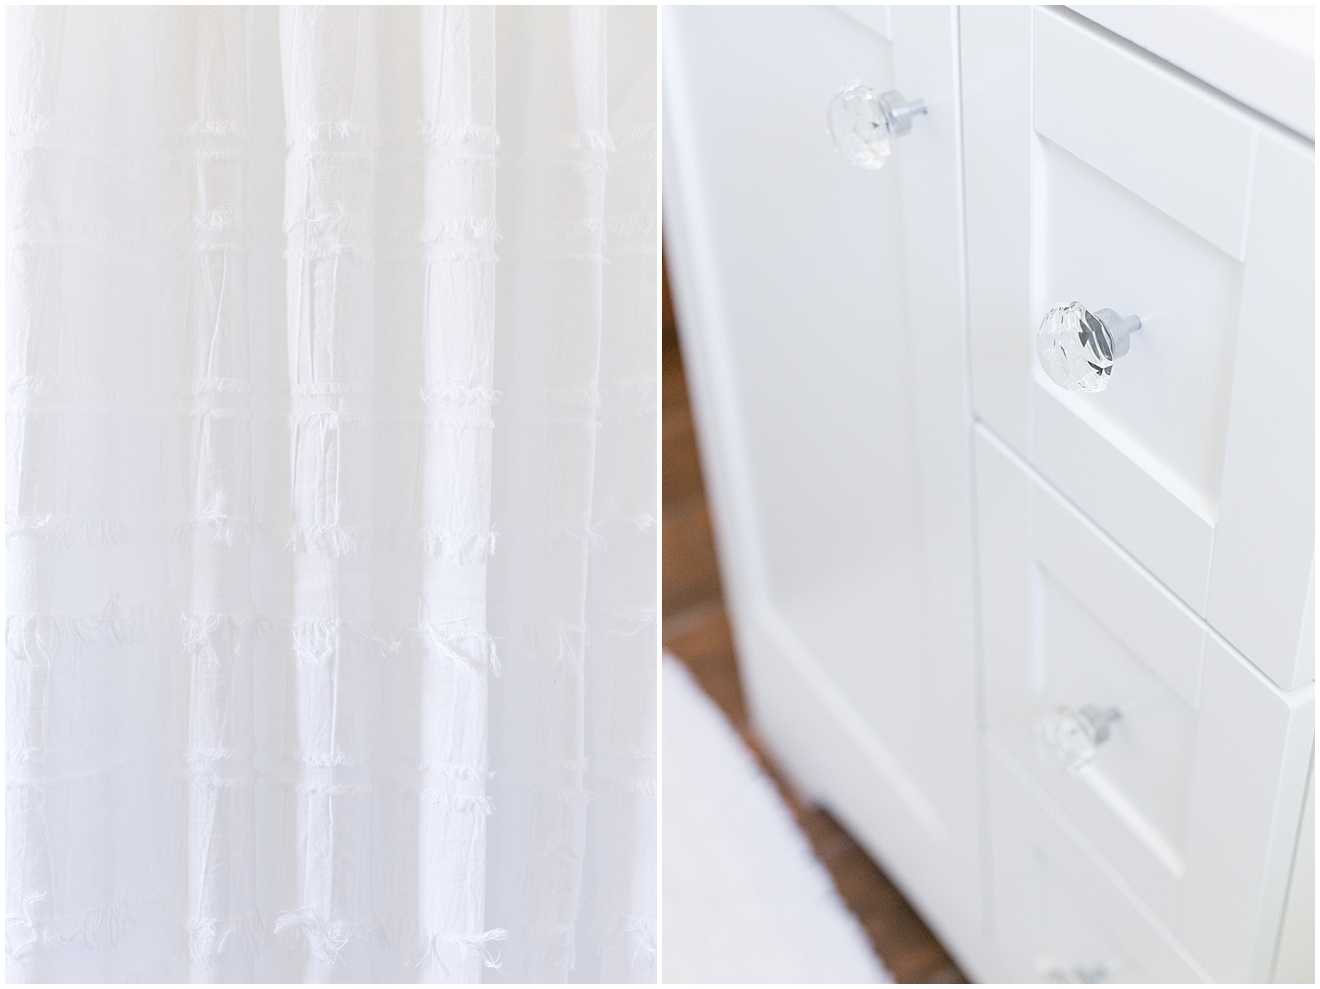
Next thing I know, fixtures were going back in, we decided to replace the old vanity with one that was much more functional (one word, y’all – drawers!), paint started going on the trim & walls, and THEN I made one of the most fun purchases of the whole project – these little specialty knobs for the vanity!
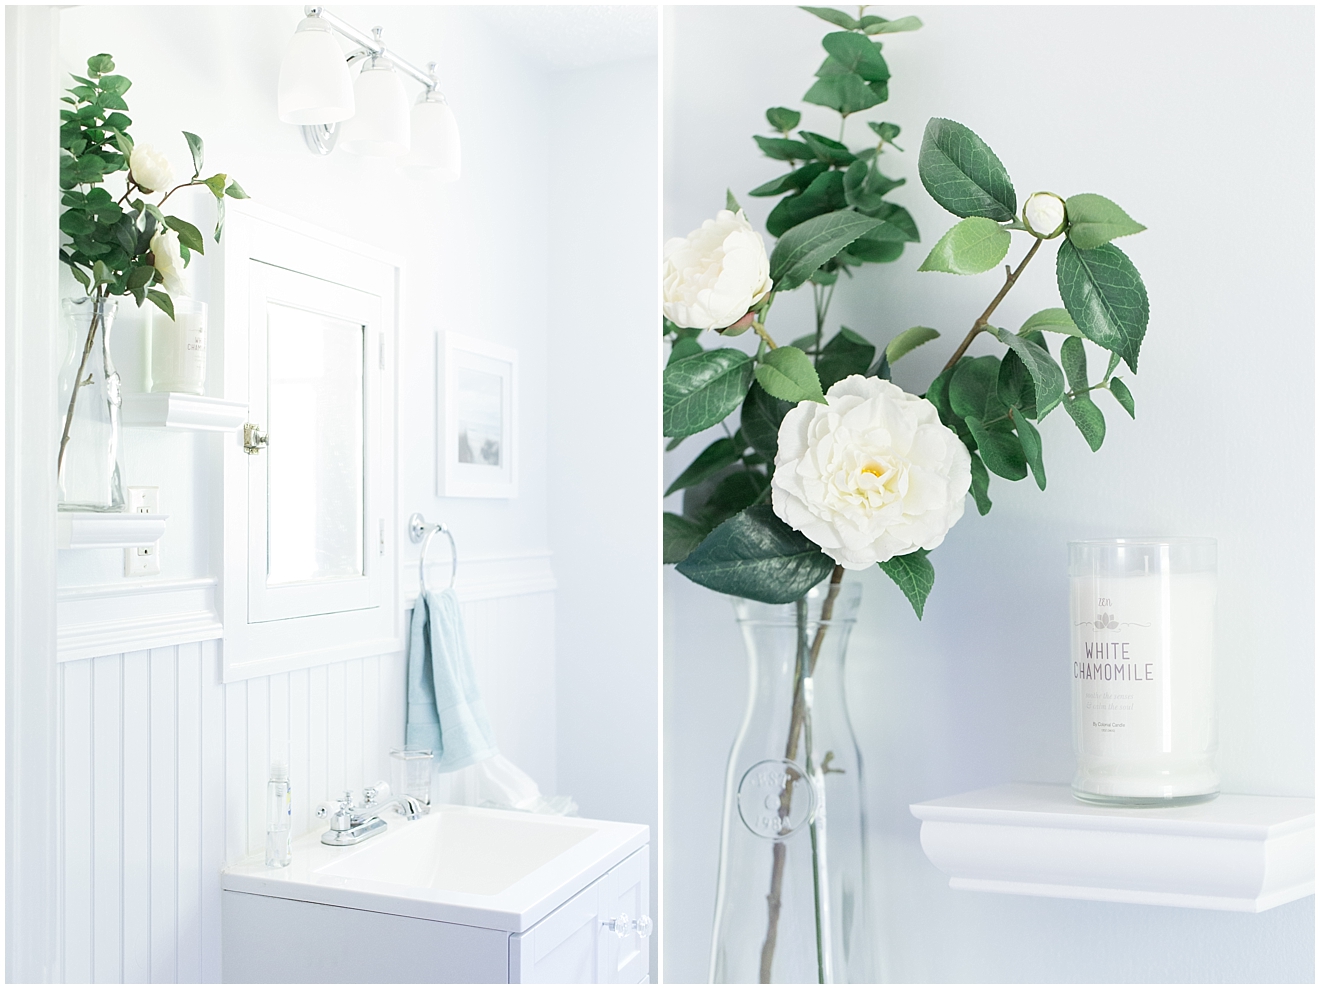
… And then, finally, roughly 3 months after starting this project, we moved back into our master bath. All the praise hands, y’all. And I have to say, even though it wasn’t planned … and it felt like it took forever … and we splurged a little on a new vanity … it was worth it. I’m SO, so happy with how it turned out. Honestly, it’s kind of my favorite room in the house now – at least from an aesthetic standpoint. When we first moved into our house, we painted a lot of bold colors on our walls, but with this bathroom, I wanted something different. Something light and clean and simple and soothing. And I wanted it to be as functional as it could be. And I wanted it to fit well with the 1940’s/1950’s cottage character that is so evident in our house. And I feel like we 100% accomplished that.
(Also, for the first time ever in my life, I’m officially obsessed with a paint color. Like, y’all. I just might repaint the whole house this color. In case you’re curious – it’s Benjamin Moore “grey sky” and it does have just the tiniest hint of blue to it.)
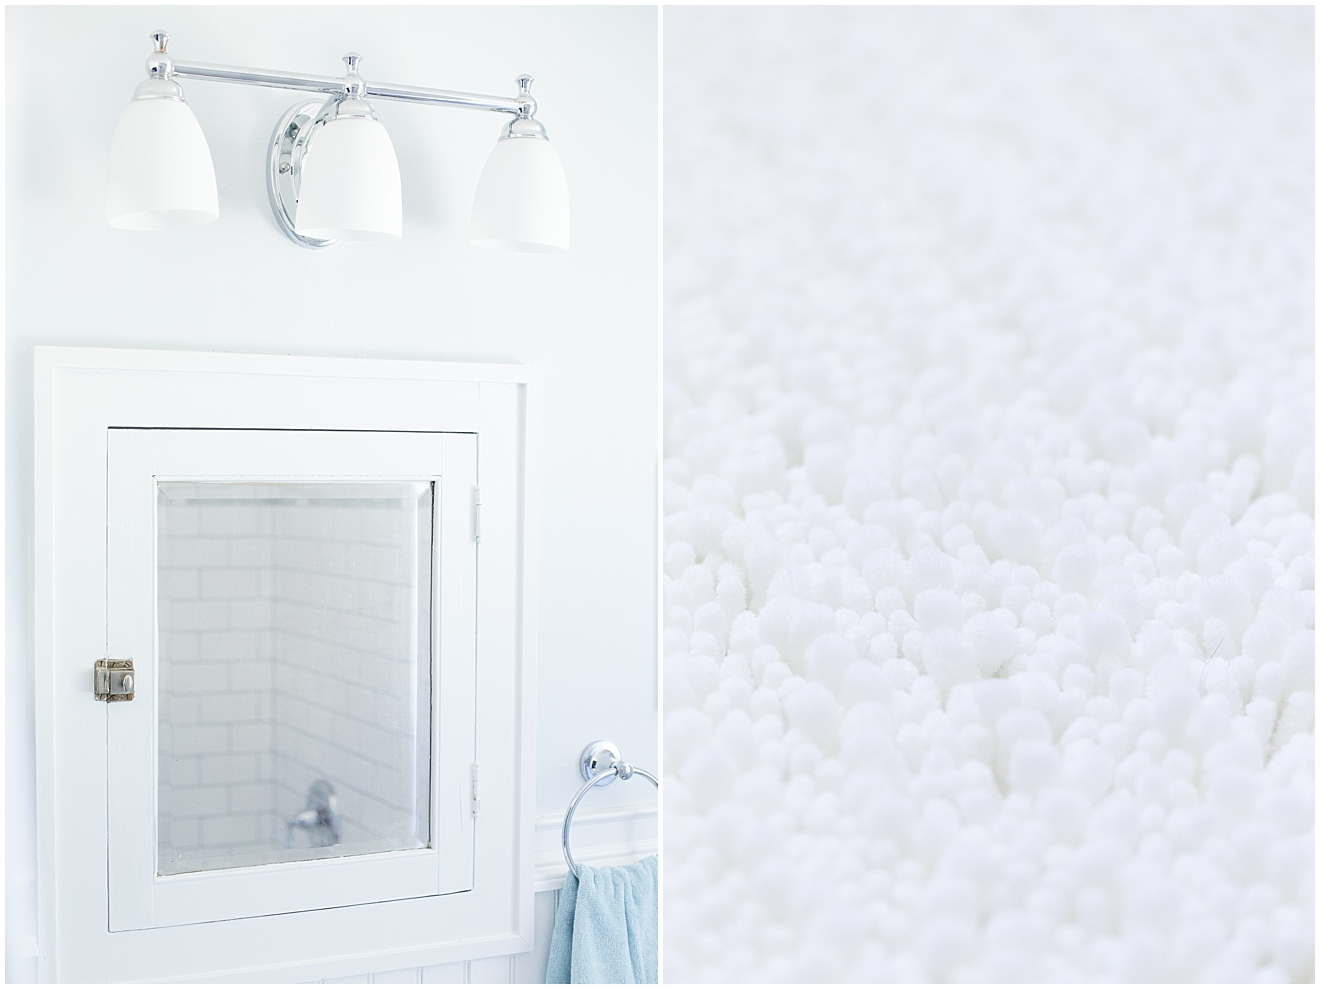
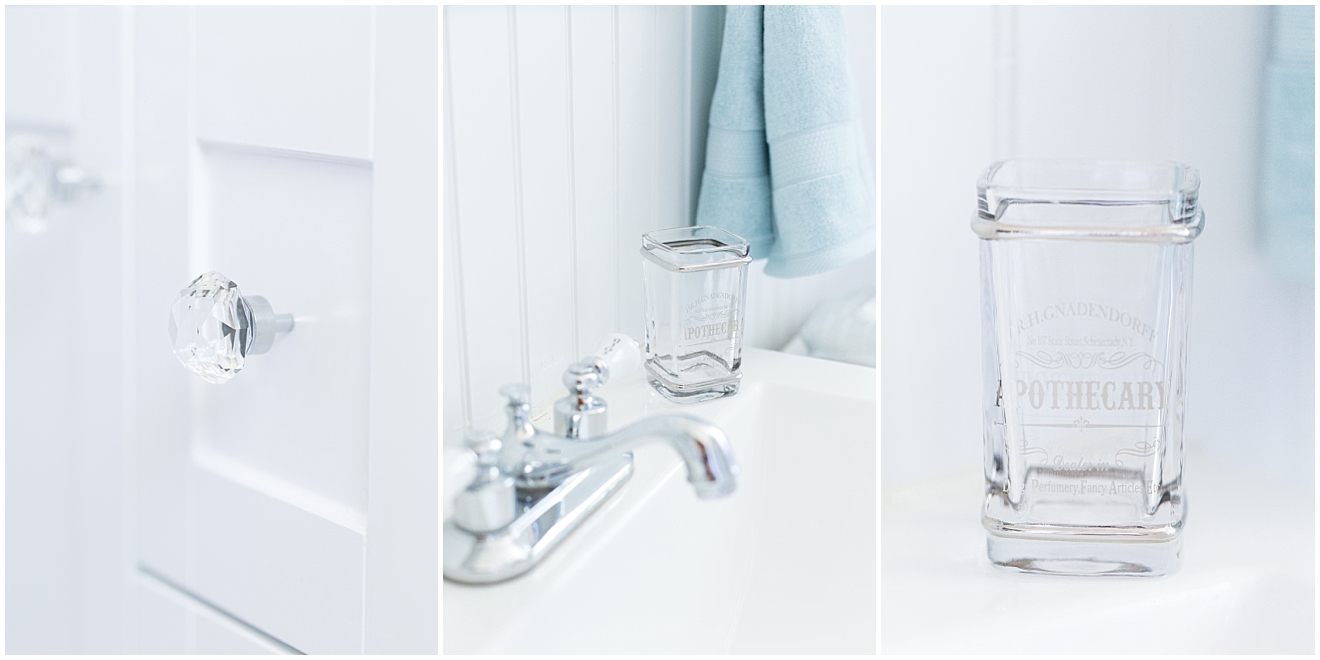
This cute little faucet on the sink was the only hardware we re-used from the old bathroom. Because, it doesn’t get much more 1940’s/1950’s cottage than this little faucet, am I right?

I’m still a little bit obsessed with this mosaic tile from Home Depot. It’s a mix of frosted, clear, and textured glass, and marble pieces.
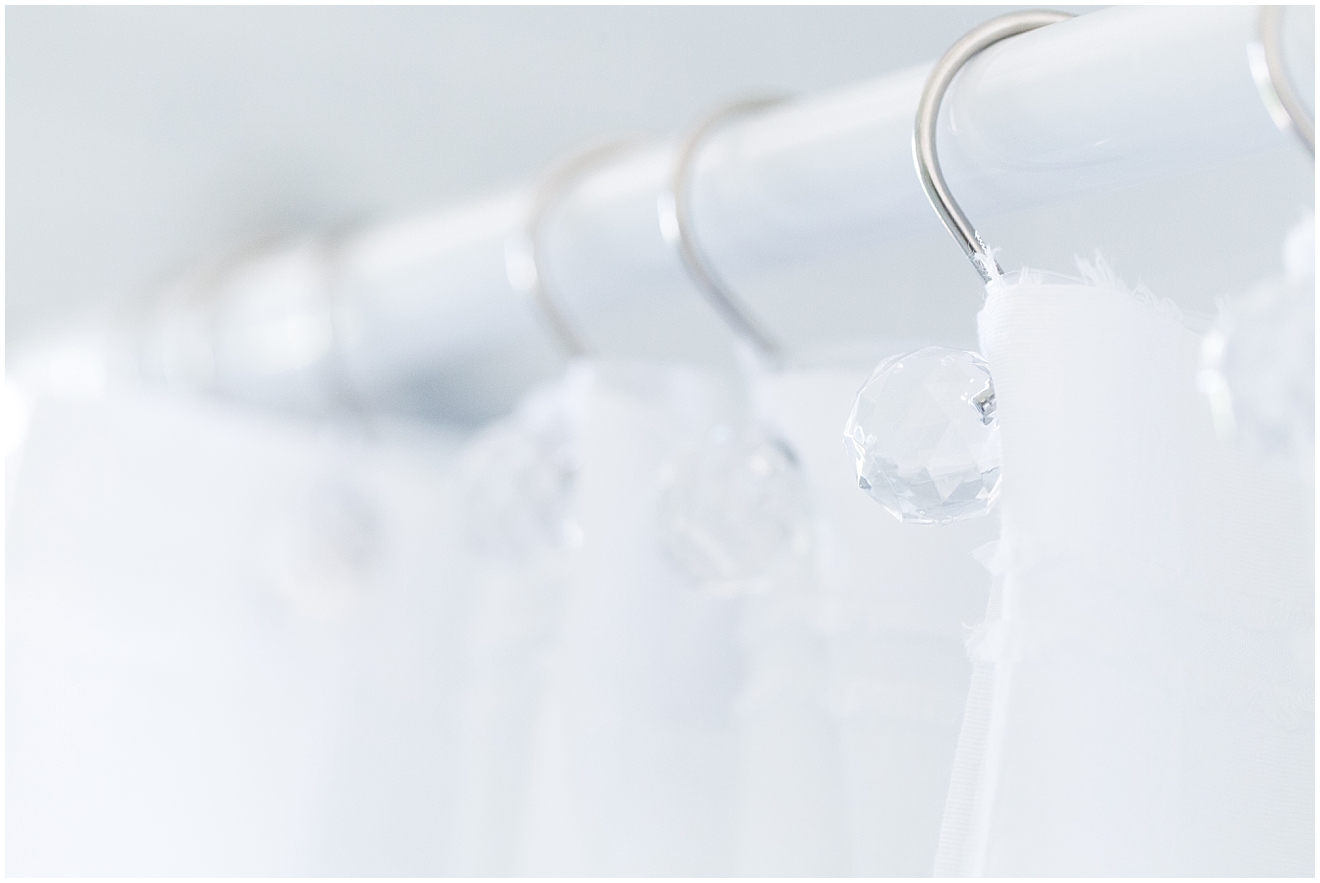
Found the cutest little faux crystal shower curtain hooks at Target and felt like they would perfectly compliment the knobs on the vanity!
I love all of the textures we were able to bring in here – like the plush mats I found at TJ Maxx! So soft!
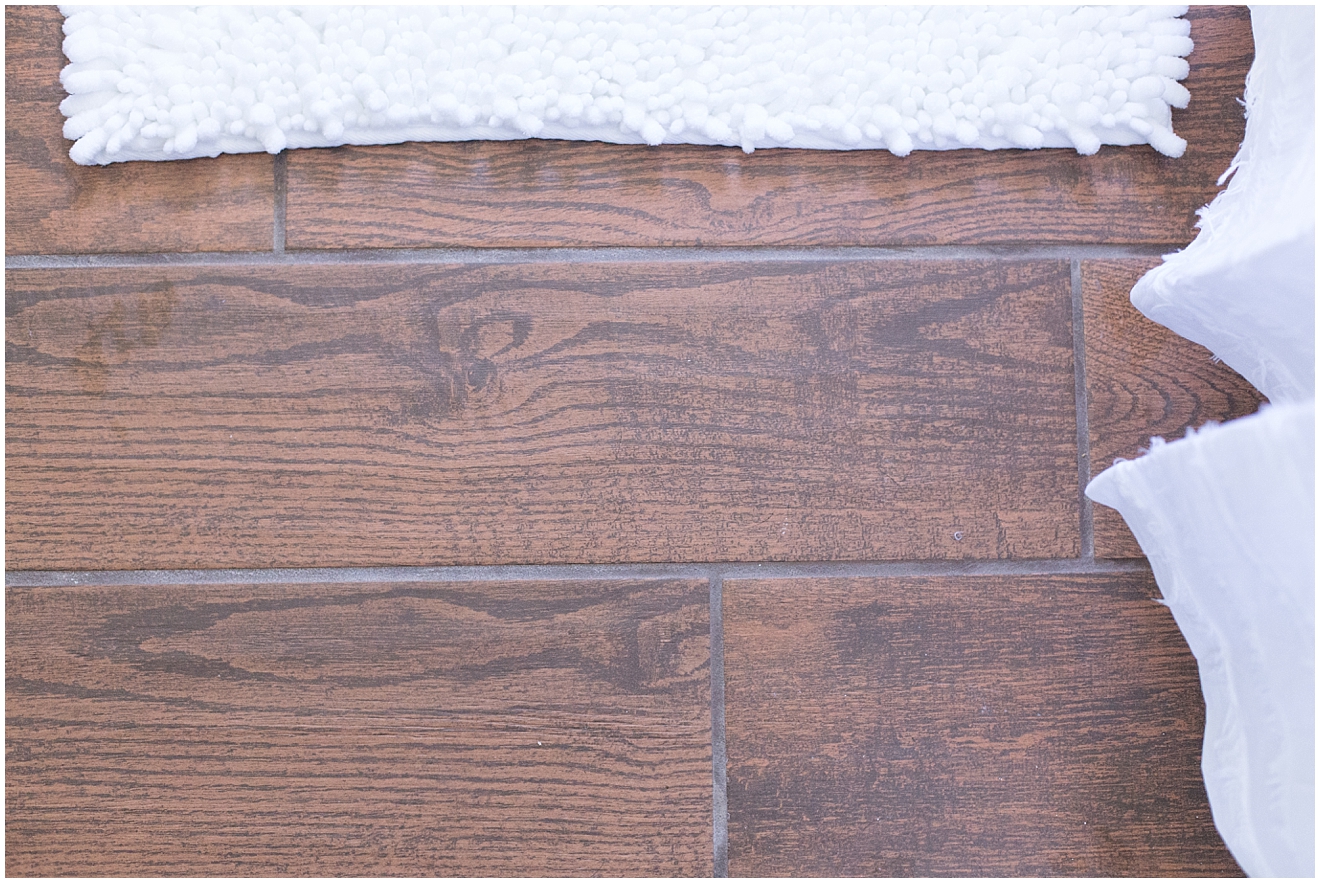
We have dark-stained hard wood floors in most of the main level of our house, but we have natural slate tile in our kitchen and mud room. I really wanted this space to feel like it “fit” with the rest of the house, but putting hard wood in this bathroom wasn’t really an option because of the concrete floor. And as much as I love the colors in the slate tile in our kitchen, I really wanted a hard wood look in this bathroom. So we decided to go with Home Depot’s Marazzi Montagna Gunstock 6×24″ tile, and I have to say, I absolutely love how they turned out. They look great alongside the wood floor in our bedroom, and they really ground the bathroom because of how rich and warm the color is!
Now, for one of my favorite functional-and-pretty parts of the new bathroom – our niche shelf! This little accent was hard for me because I wasn’t able to find any images online of exactly how I wanted it framed out. I knew I wanted some sort of border around it, but figuring out what trim pieces we needed, and how exactly we were going to lay it all out, was a little intimidating. But I’m super happy with how it turned out!
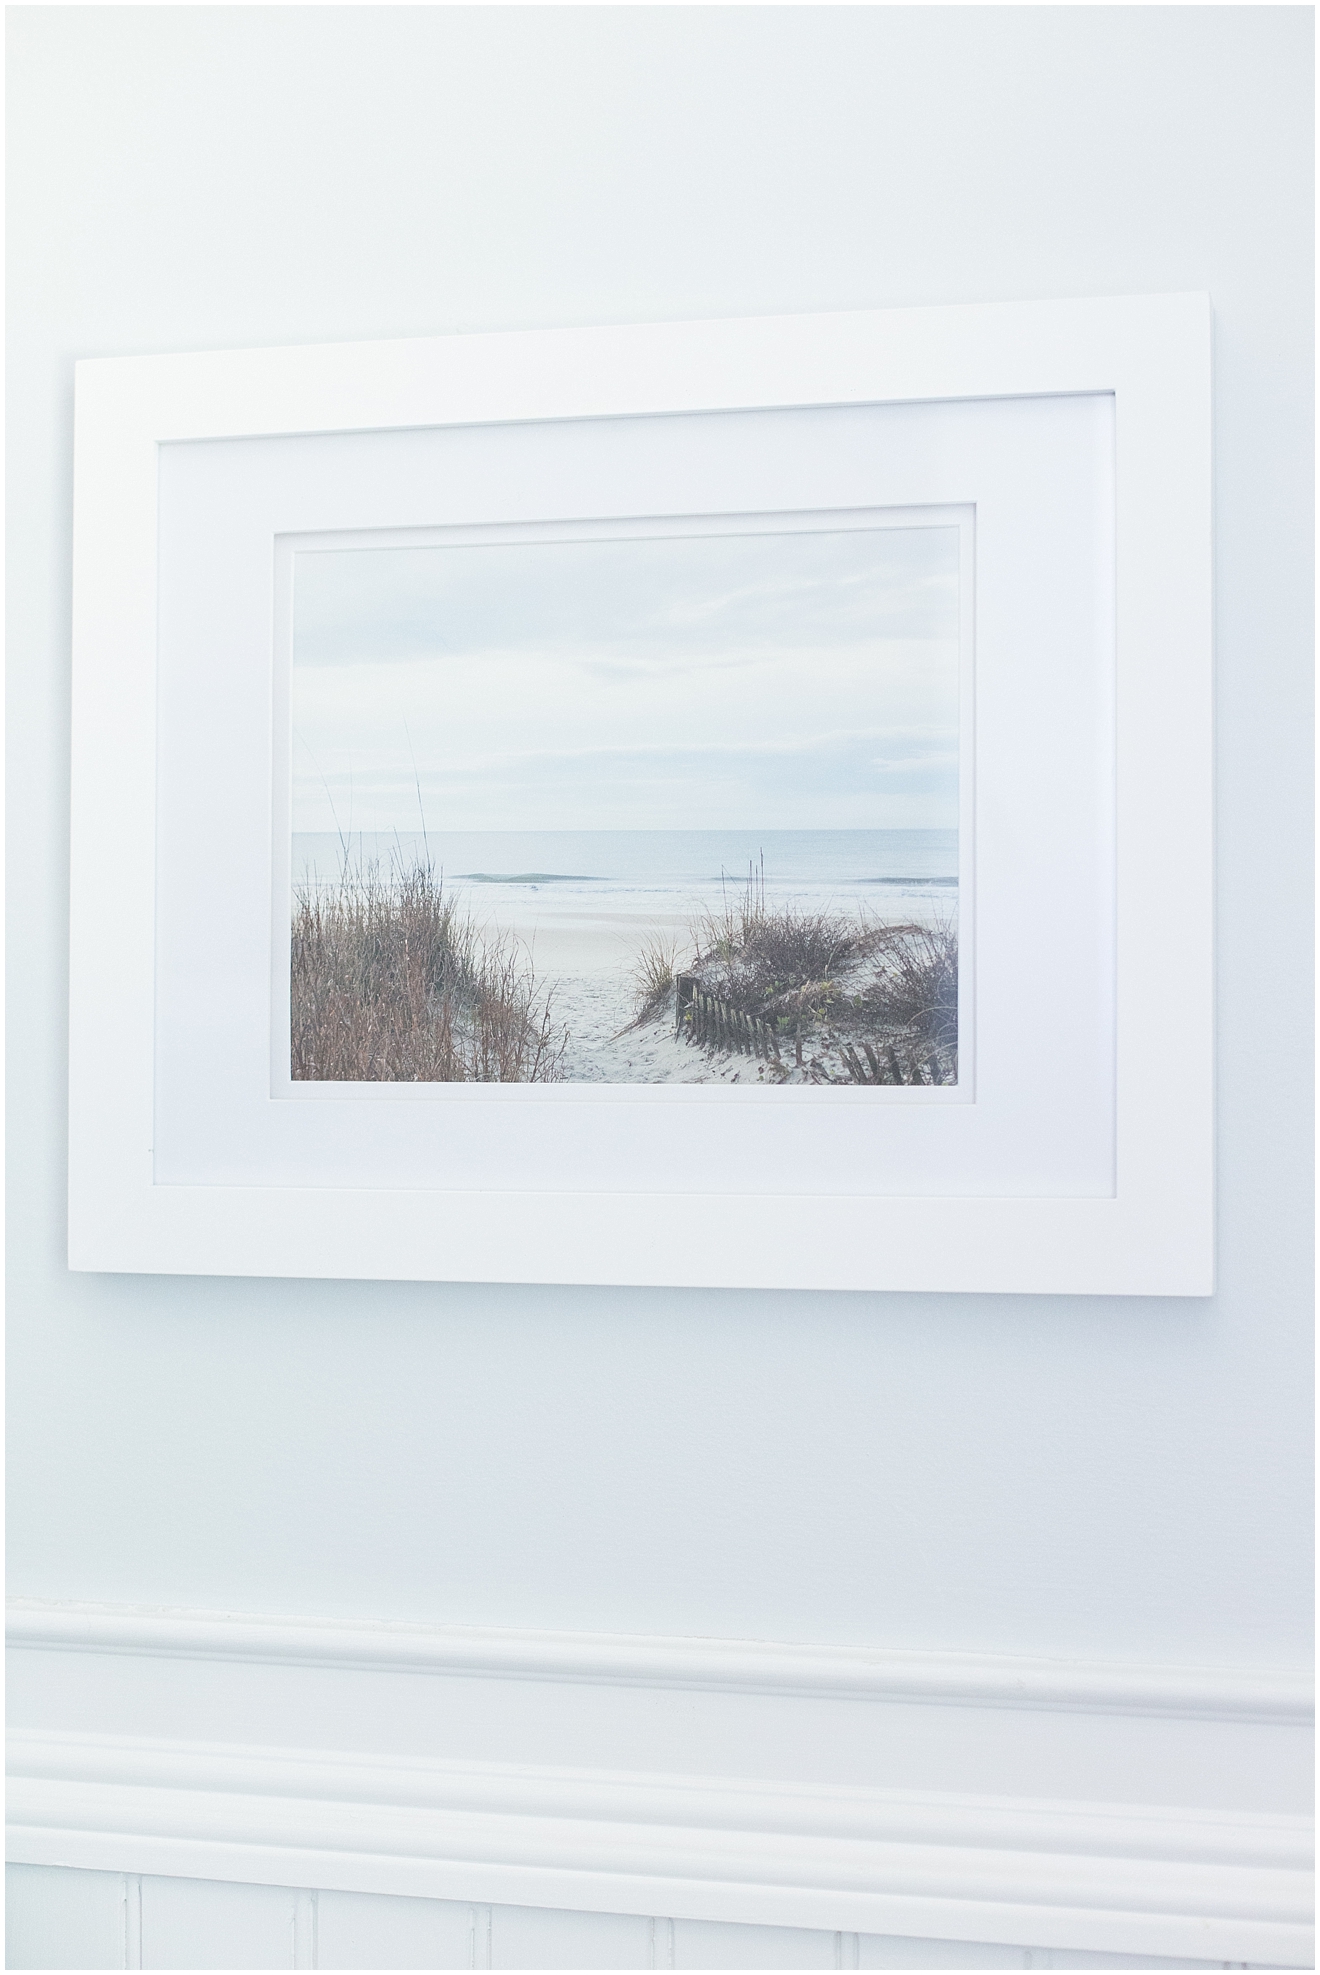
The wall space above the commode was the perfect spot to mount some artwork, and I debated whether to find a cute canvas at TJ Maxx or Target, or print one of my own photos from one of our past vacations. I decided to go with printing an image from our Myrtle Beach trip last year, because (a) who doesn’t want to see one of their favorite places every single morning? and (b) the colors in this image were a perfect compliment to the new color scheme in this room!
More fun textures – the shower curtain (TJ Maxx) and those vanity knobs!
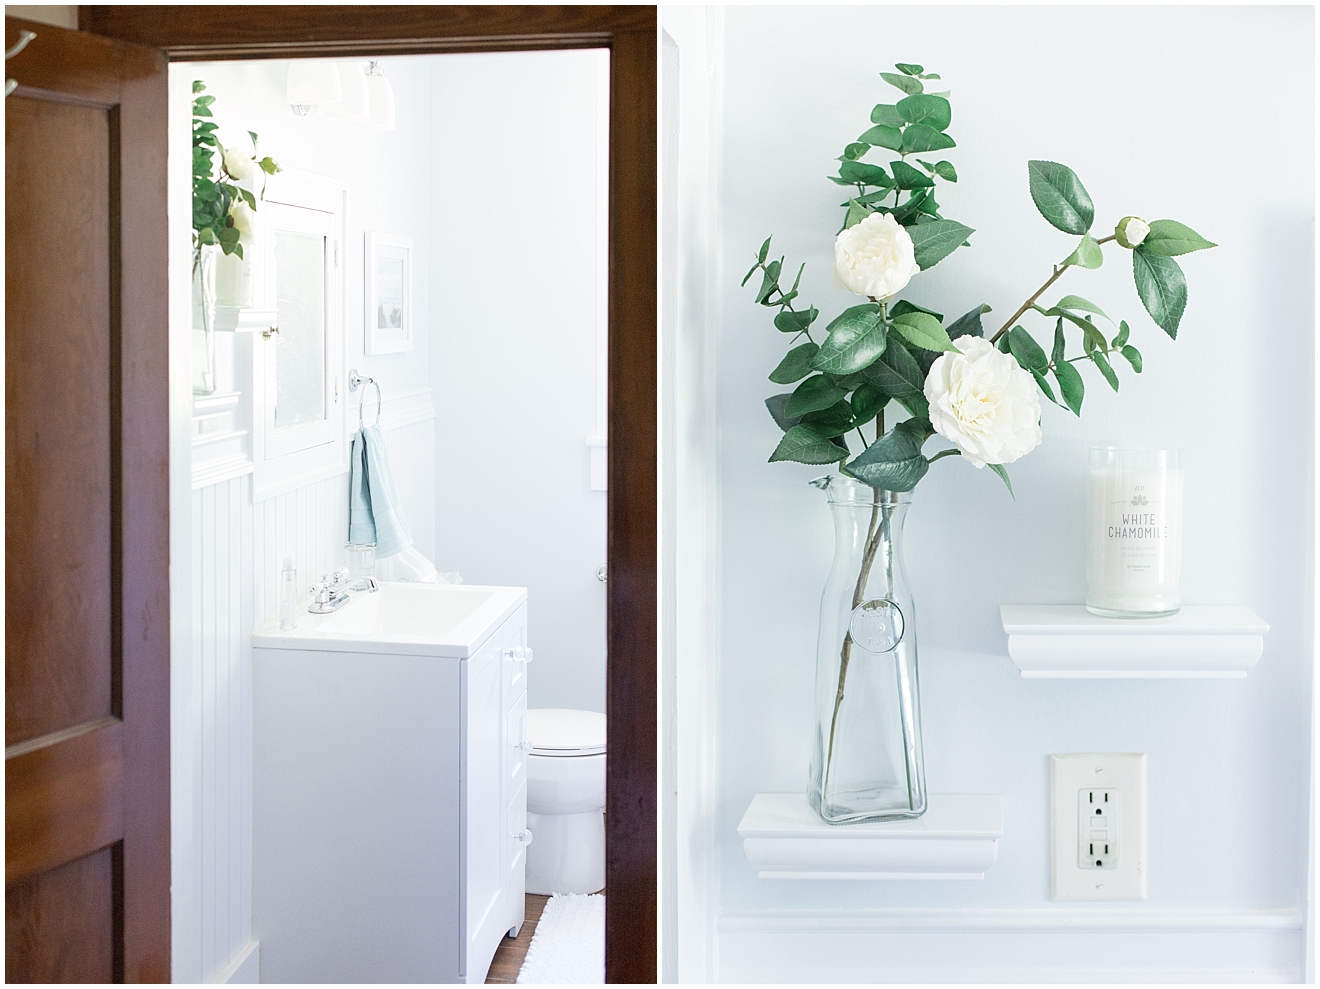
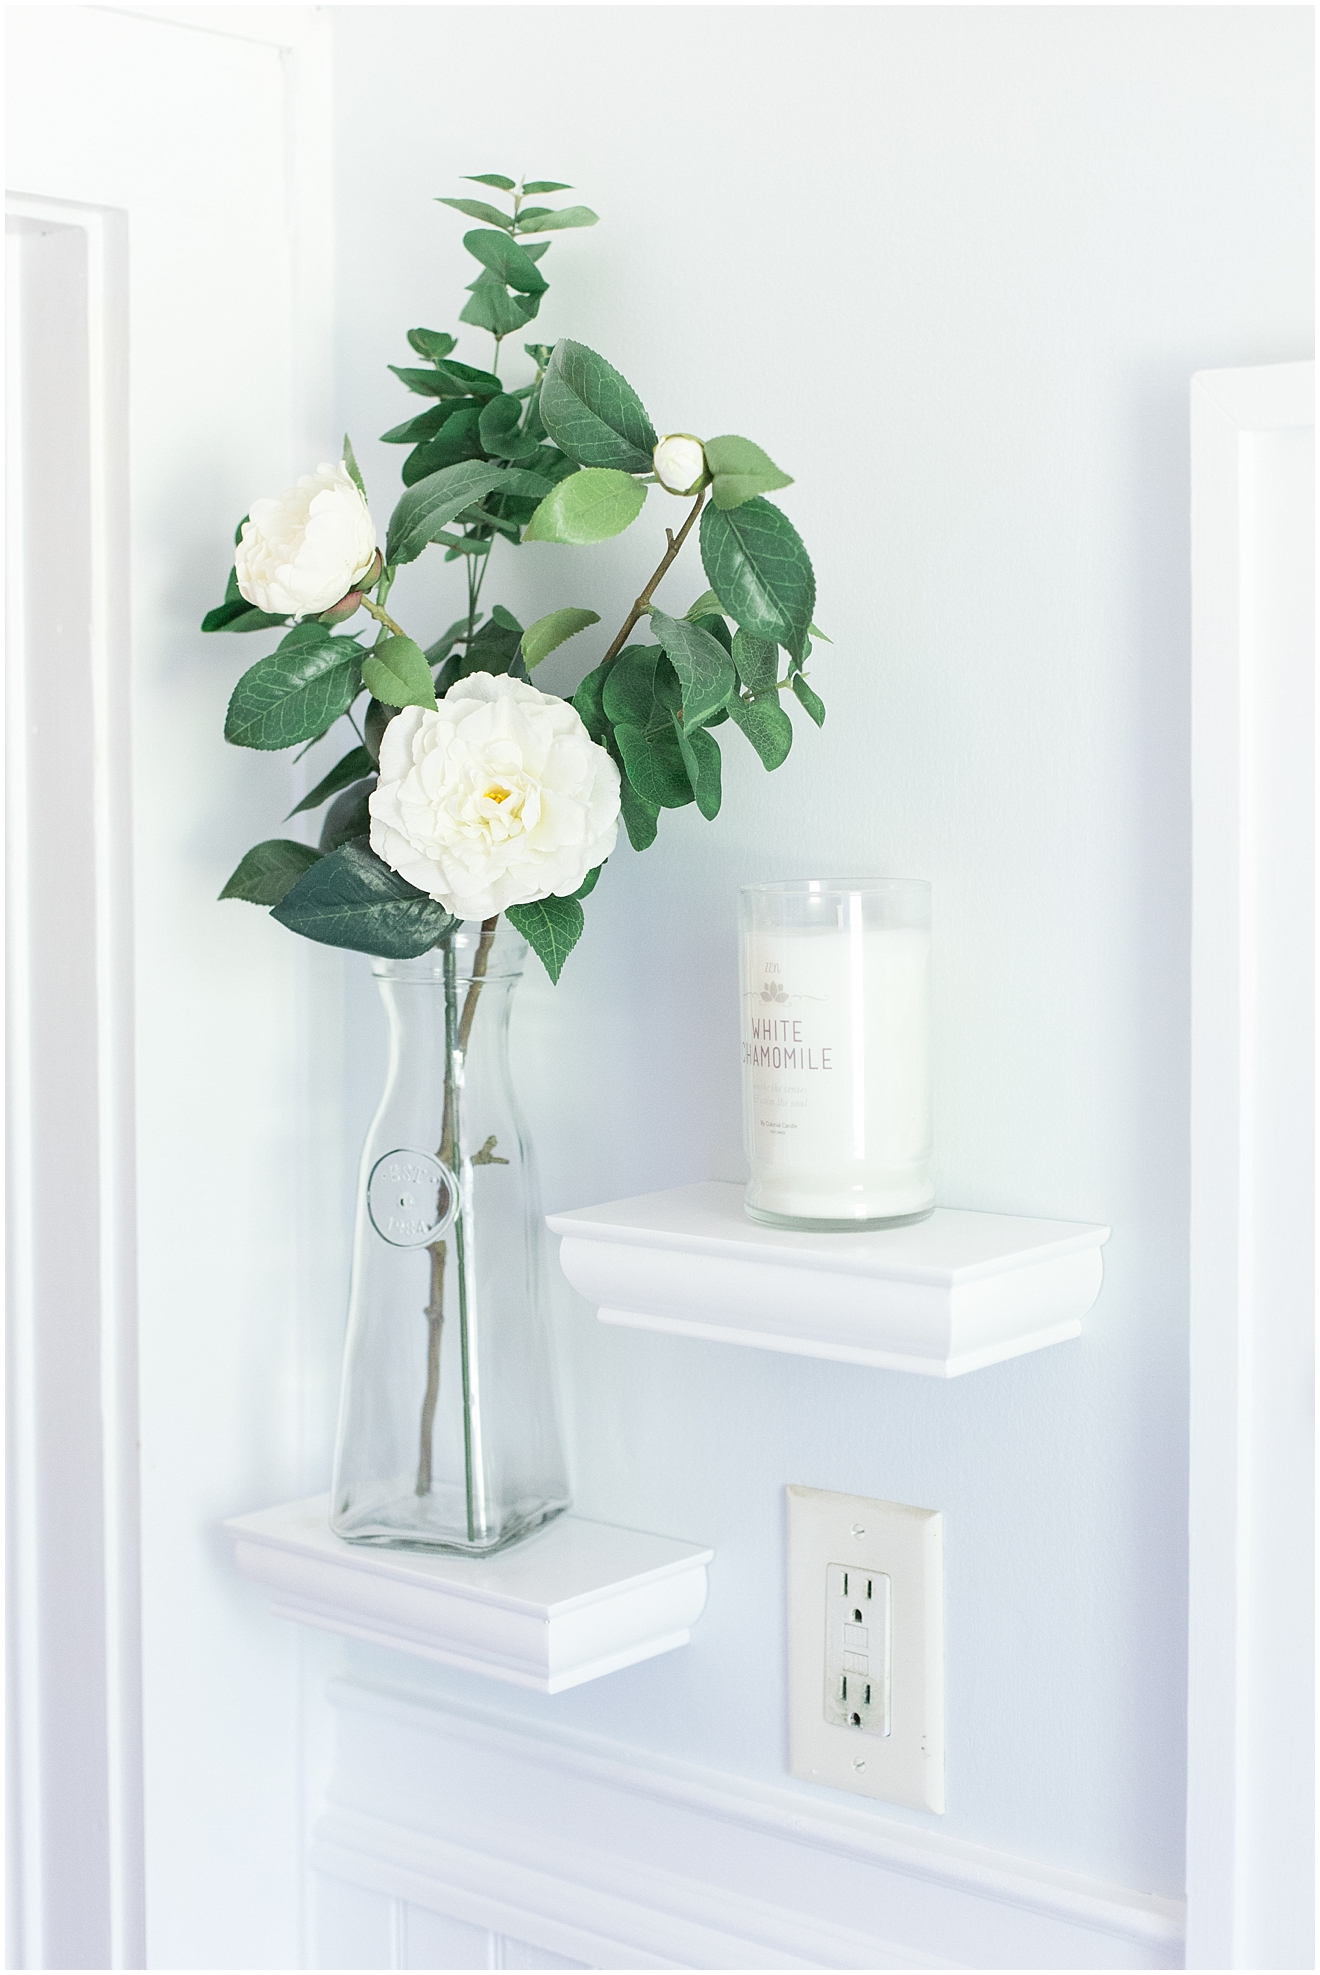
These little decorative ledges are from Home Depot, the candle is from TJ Maxx (I wish there was a way you could smell it! Haha! So refreshing and calming!), the vase/caraffe was a $3 Target find, and the silk florals are from Michael’s.
Found this little glass accent at TJ Maxx and decided it would be our new toothbrush holder!
And that’s it! After 3 months of construction (and roughly another month of me perusing Target, Michael’s, and TJ Maxx for decorative details I wanted to bring in), it’s finally finished! (Aaaand now I want to repaint the whole house this color. For reals.)
Thank you so much for sticking with me, friends! I’d love to hear your thoughts (or questions) in the comments! Did you enjoy this post? Have you ever taken on a job like this? Any questions/advice for future remodeling projects?!

I have to say again how proud I am of you both! And lindsey….the decorating ideas and choices are perfect for your house!! Joanna and Chip Gaines need to watch out…here comes Lindsey and Jason Rickards!! Love, love, love it!! Great job!!
HA! I don’t know about that, but thaaaanks! Can’t wait for you to see it in person next time you visit! Love you!